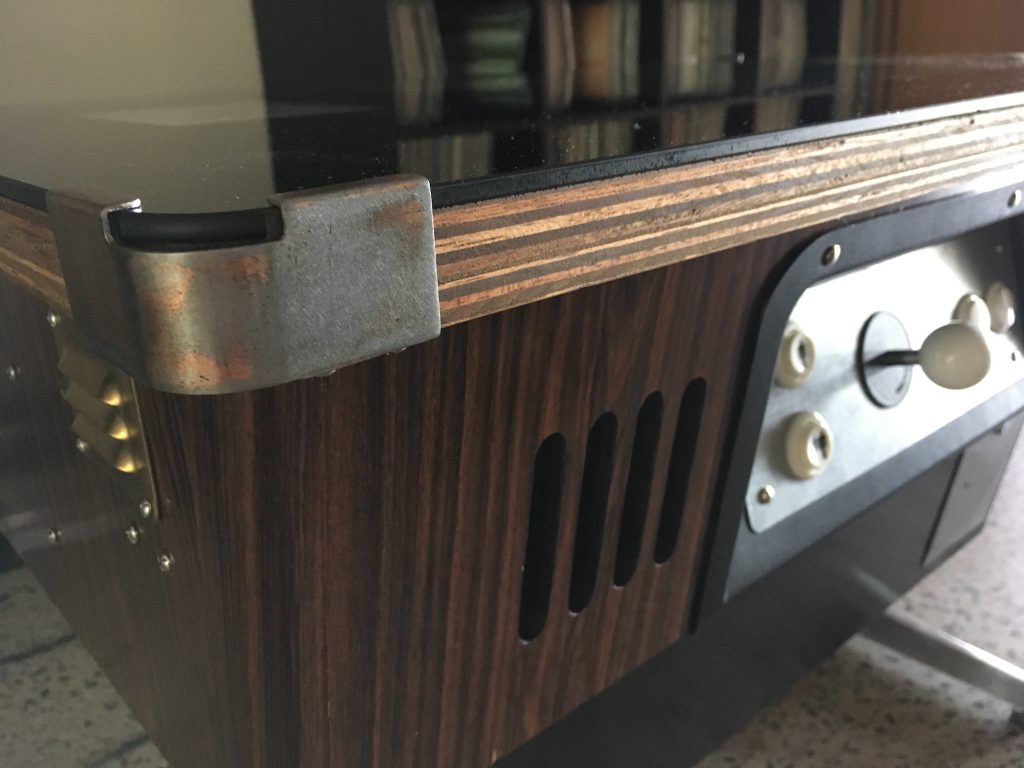
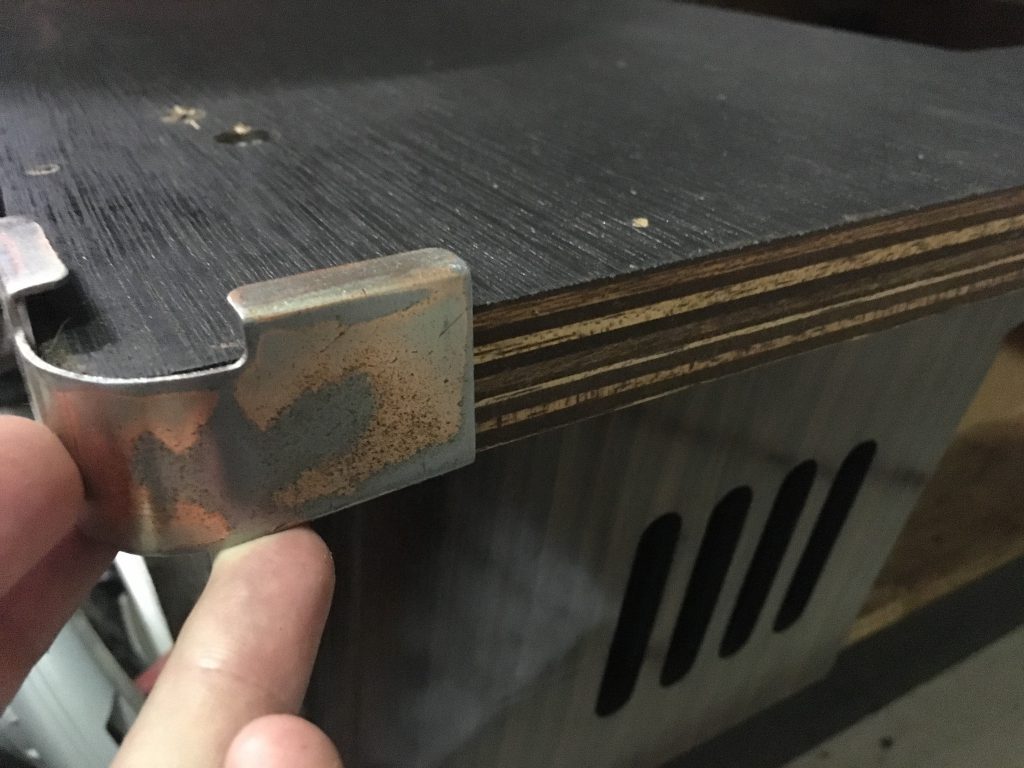
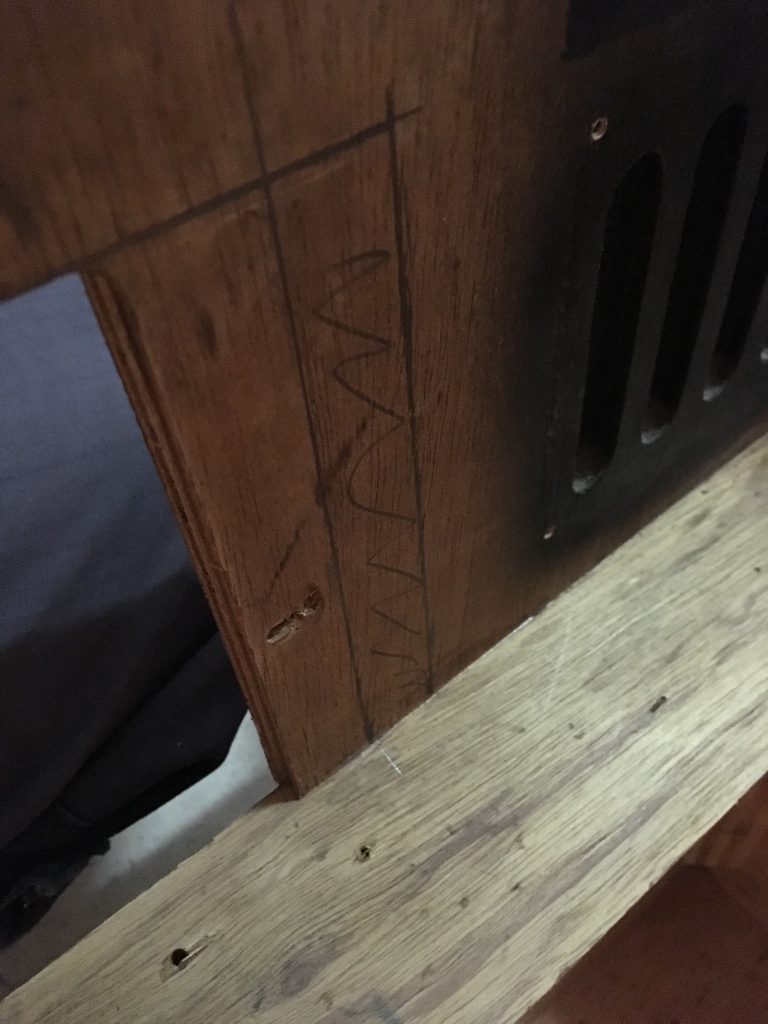
Sorry about the screws sticking out on some pictures, I still had to secure the clips completely.
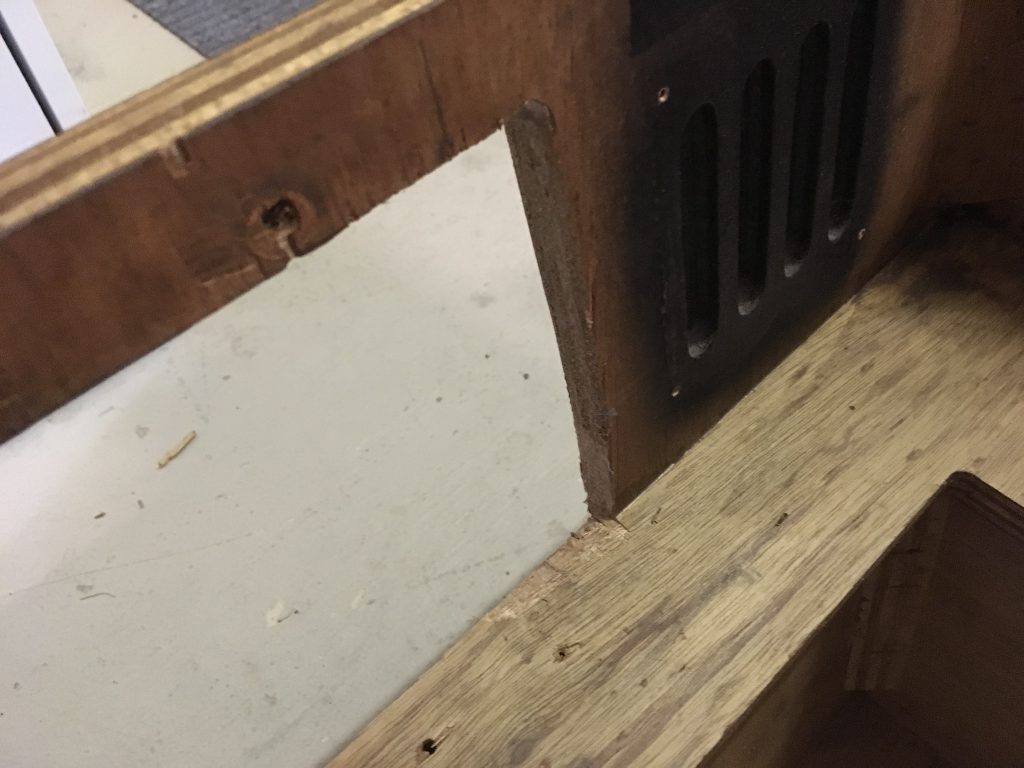
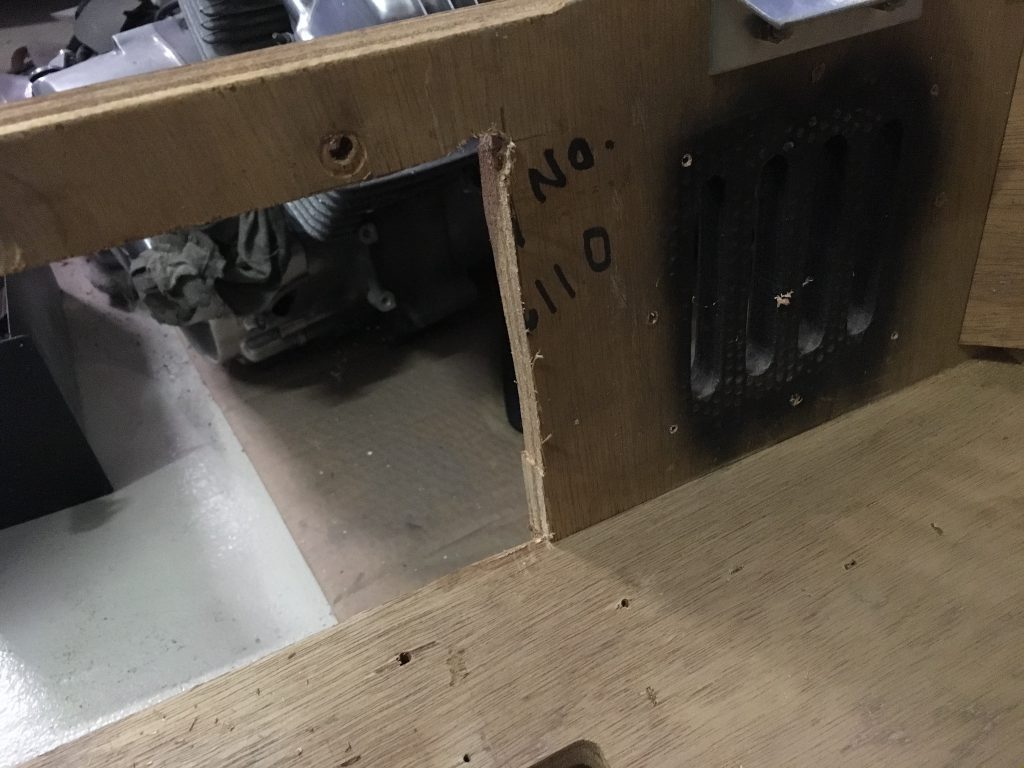
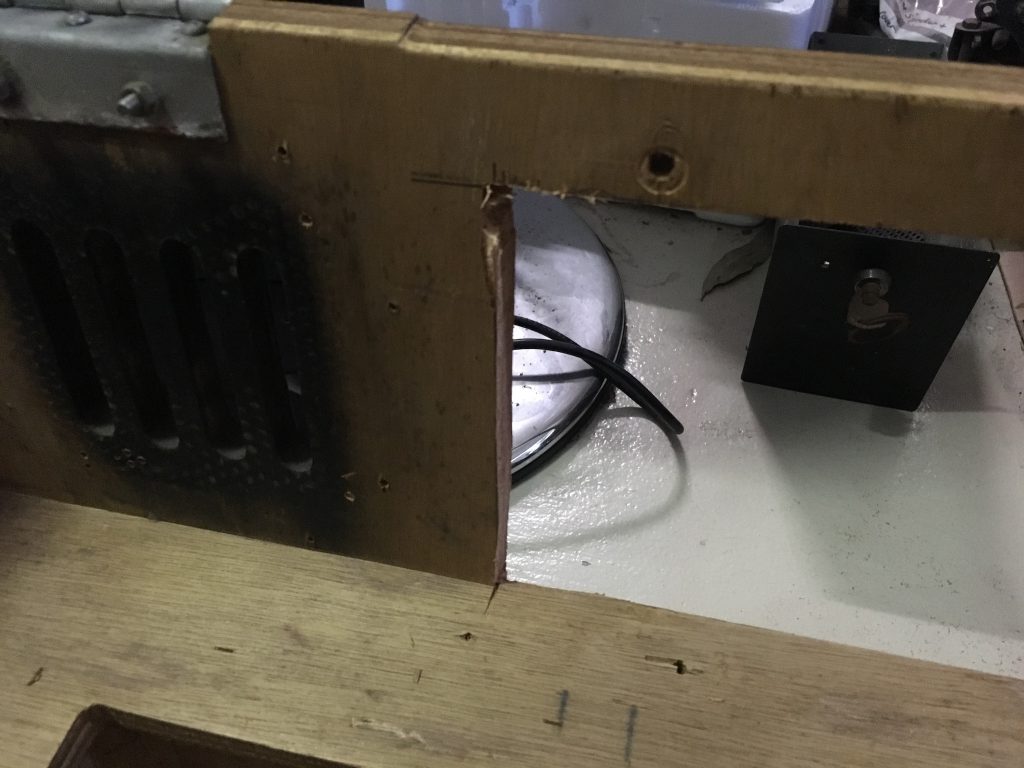
The brass vents on the sides are actually covering the old lock holes. The locks were missing when I bought it and didn’t really need them as it’s HUO.
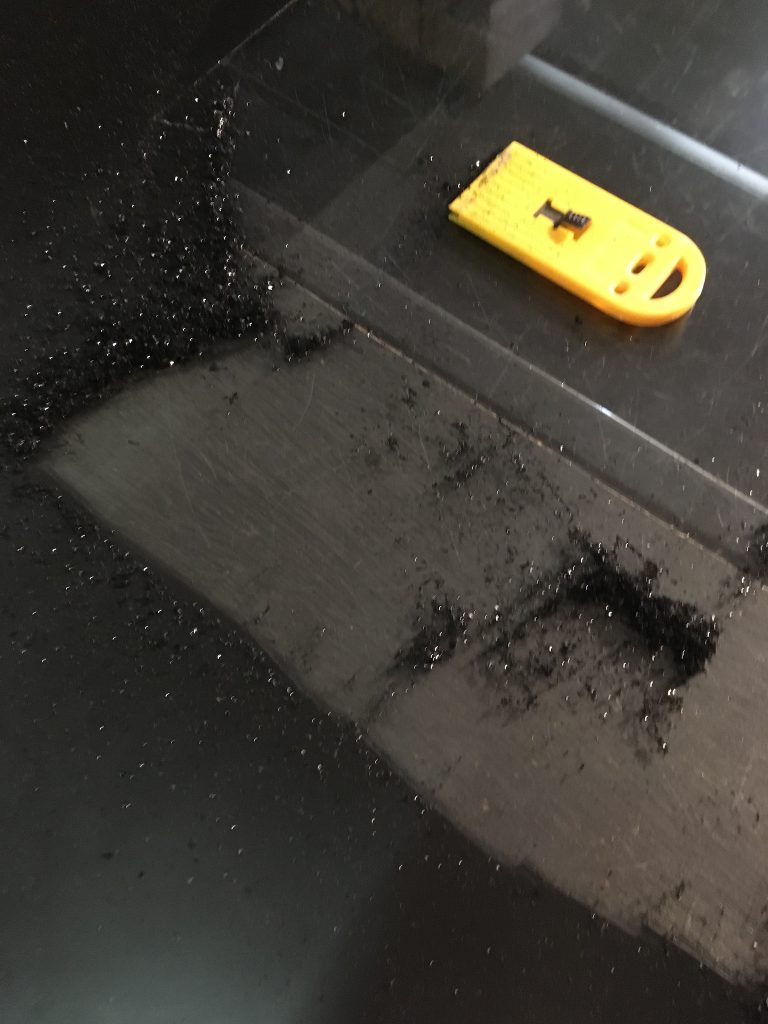
The top of the glass had a lot of scratches and dents on the edges but the other painted side was intact so I thought, well, let’s remove all the paint (I needed to do that anyway because the monitor is now bigger and the old coat had a few holes) and reverse it!
That was actually quite tedious!
Before putting the glass back on:
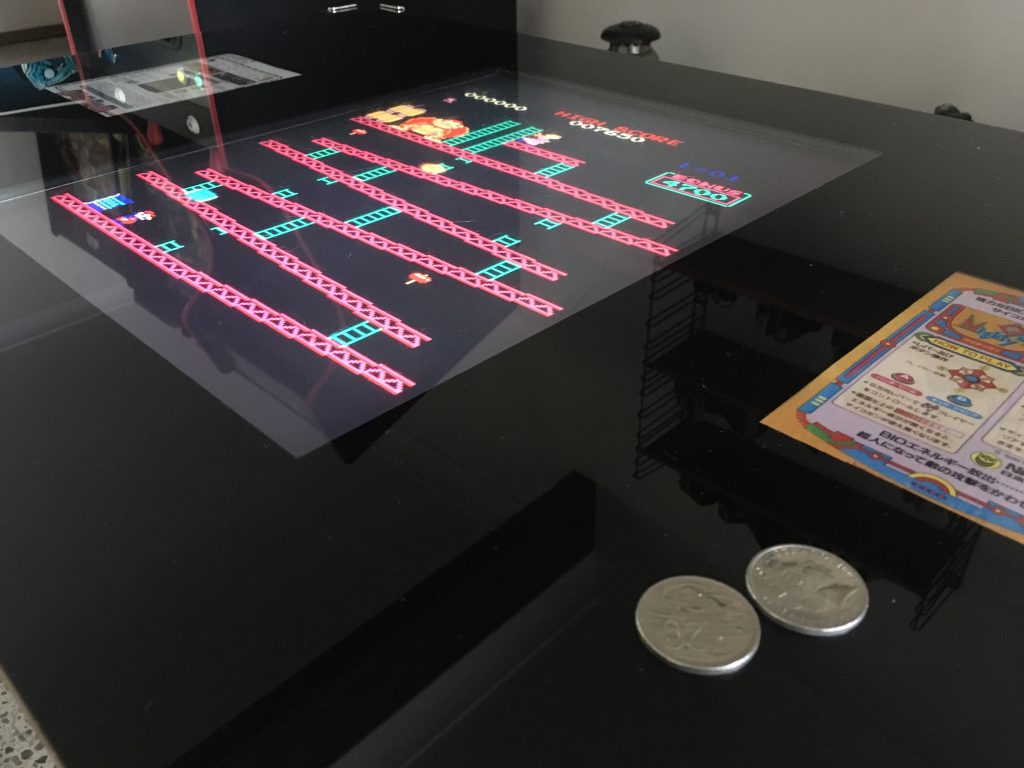
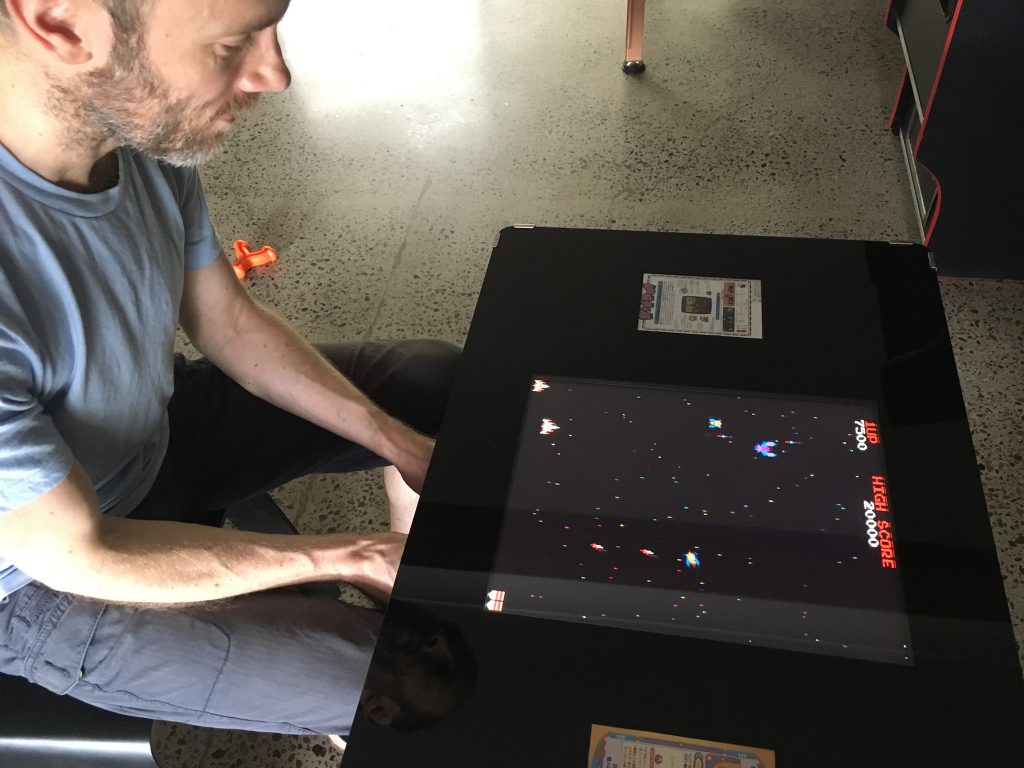
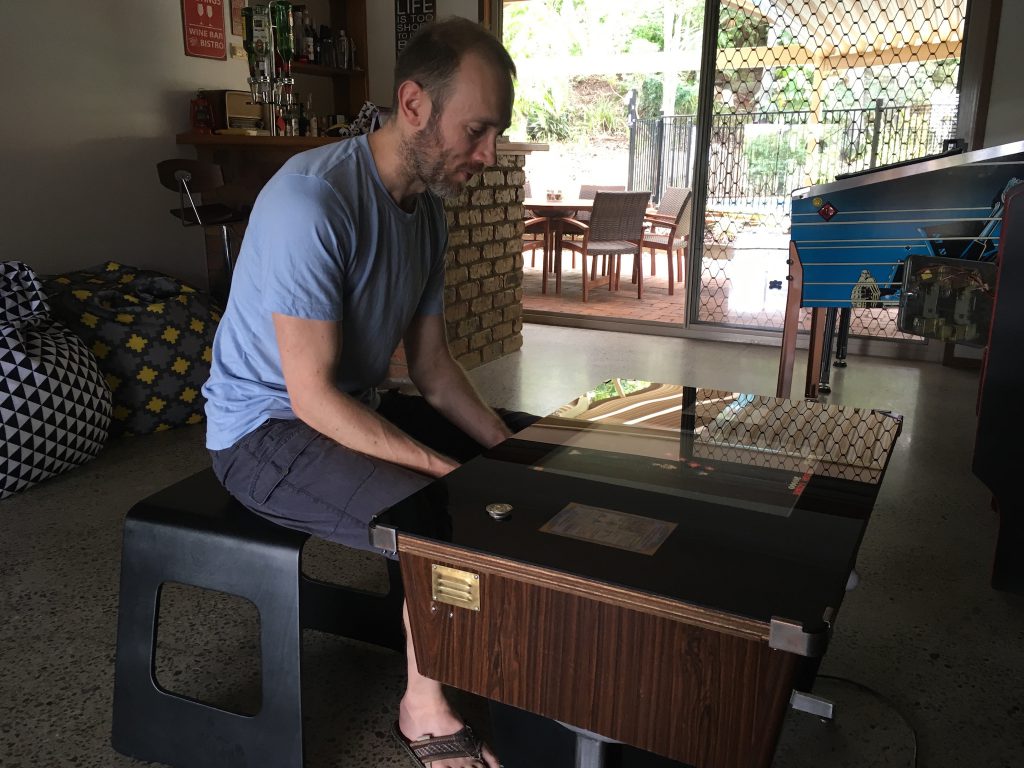
The viewing angle is excellent!
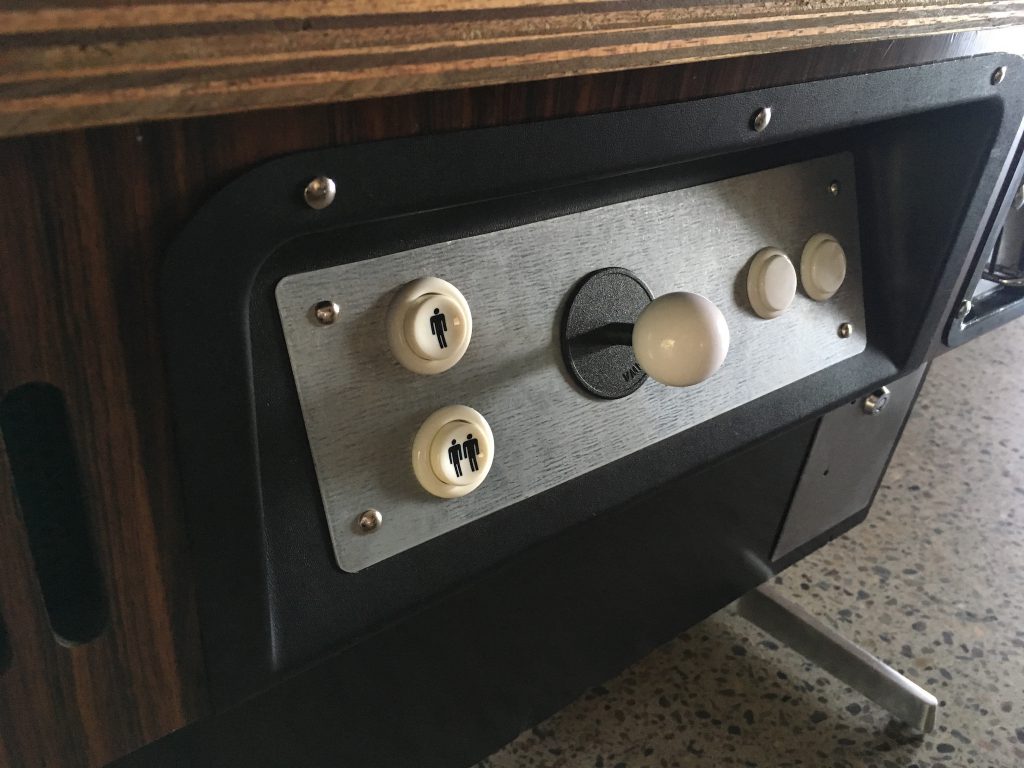
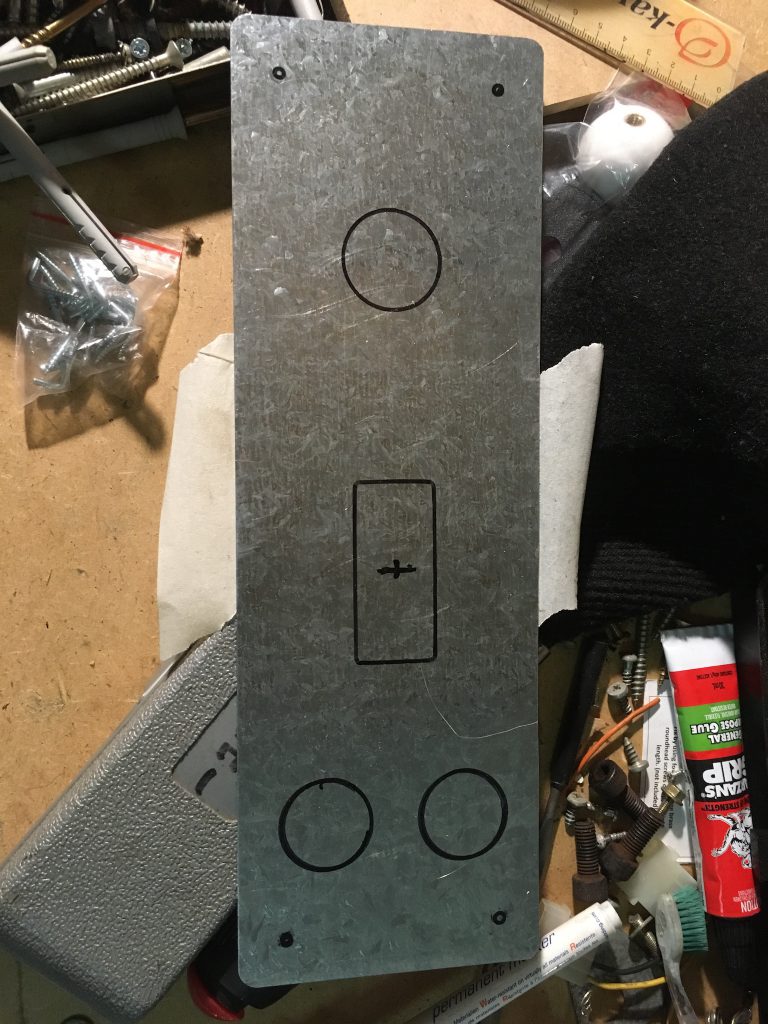
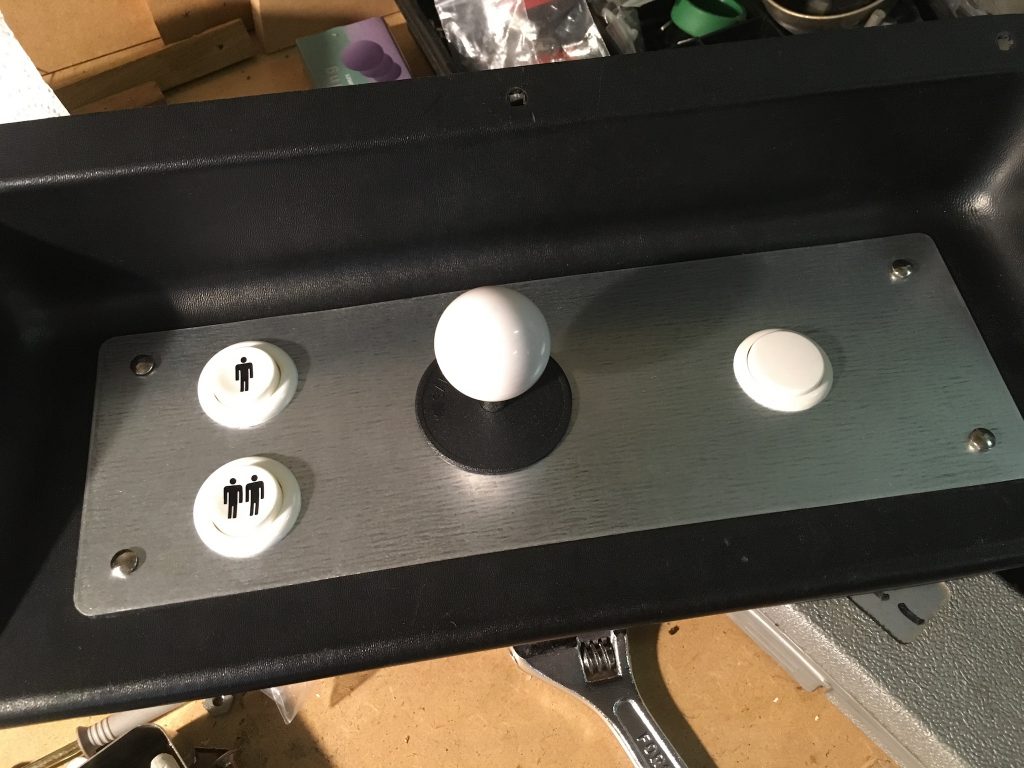
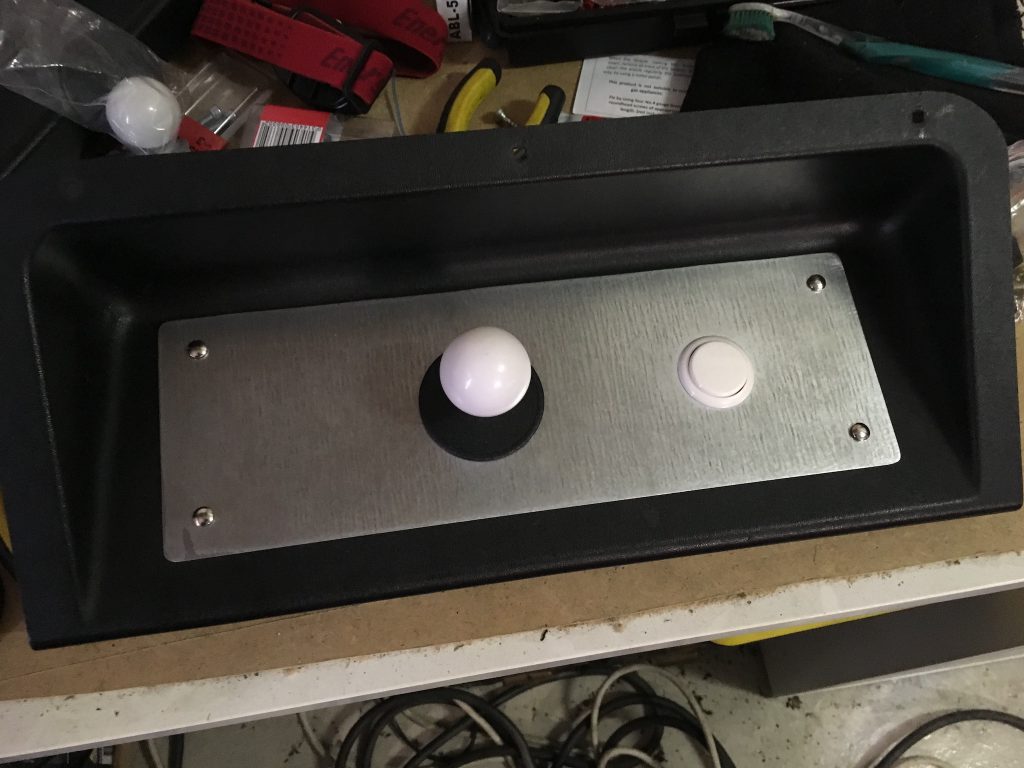
You’ll also notice there’s now a second button on the control panels. I would ideally need 3 of them for some games but 95% only need 2.
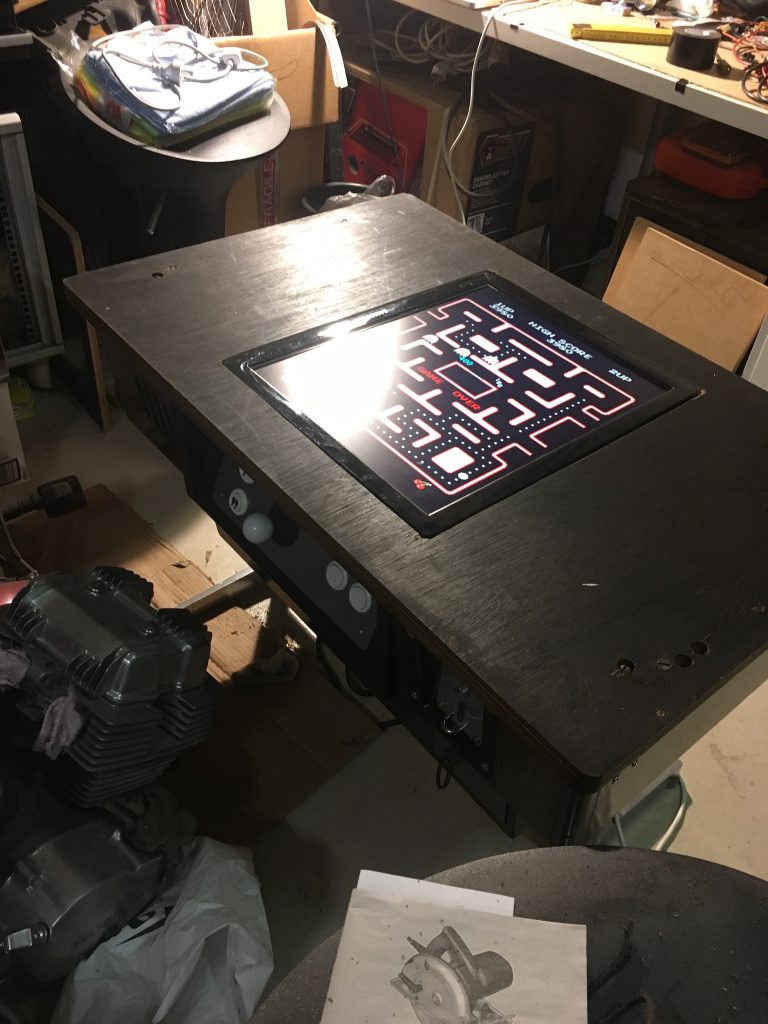
So, I had kept this Samsung 971P monitor for a while in case I needed a 4:3 monitor for an arcade project. What I didn’t know was it has a PVA panel with a viewing angle of 178 degrees, which makes it perfect for a cocktail cab!
It is a weird looking monitor, but the bezel is super flat, and the back of it kinda symmetrical and “level”.
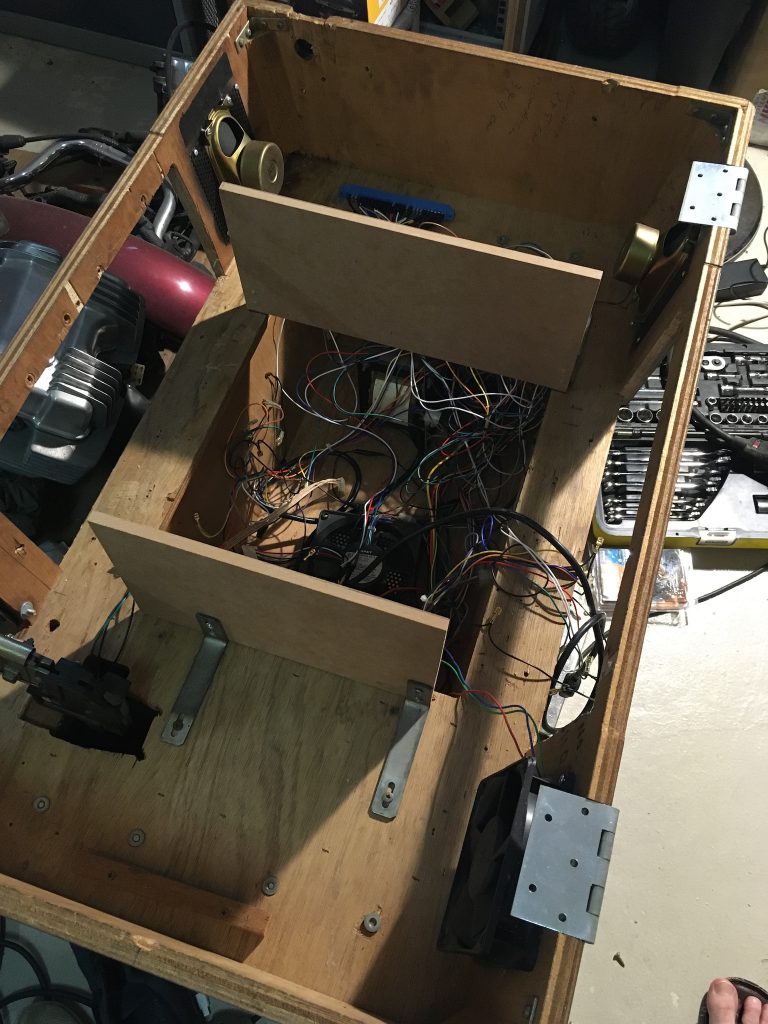
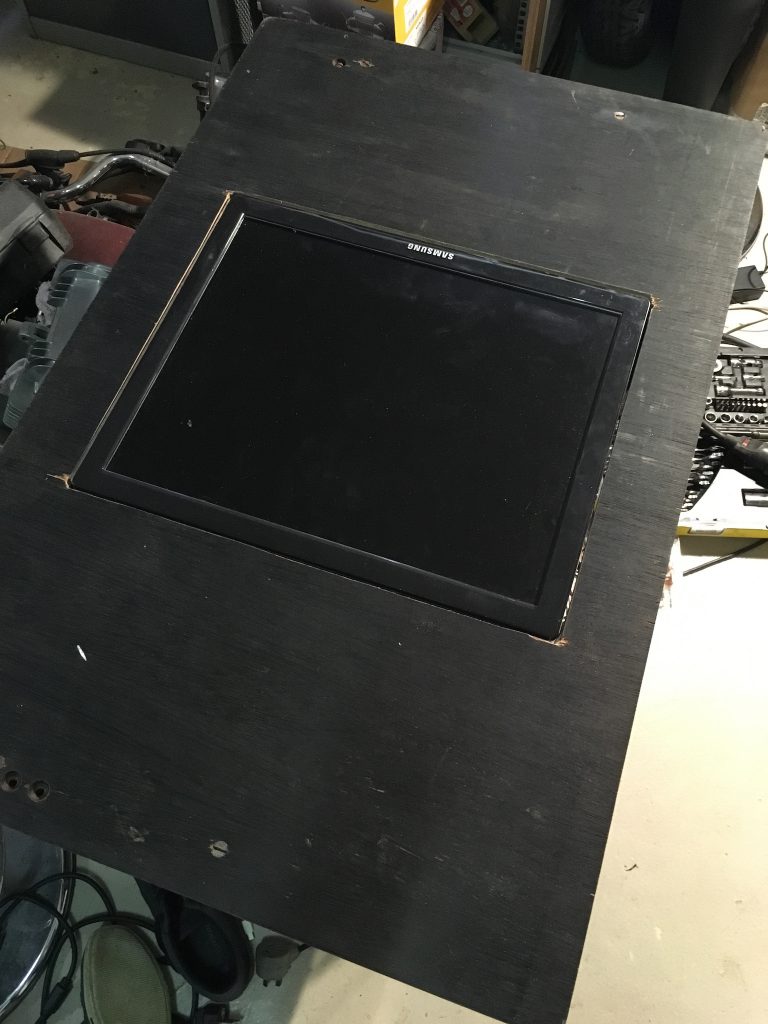
I didn’t want to attach the monitor to the lid of the cab. Actually I’m not sure I could have, because of that weird stand.
But like I said, the back was symmetrical and it was easy to let it rest on its back with some support, so I came up with this idea:
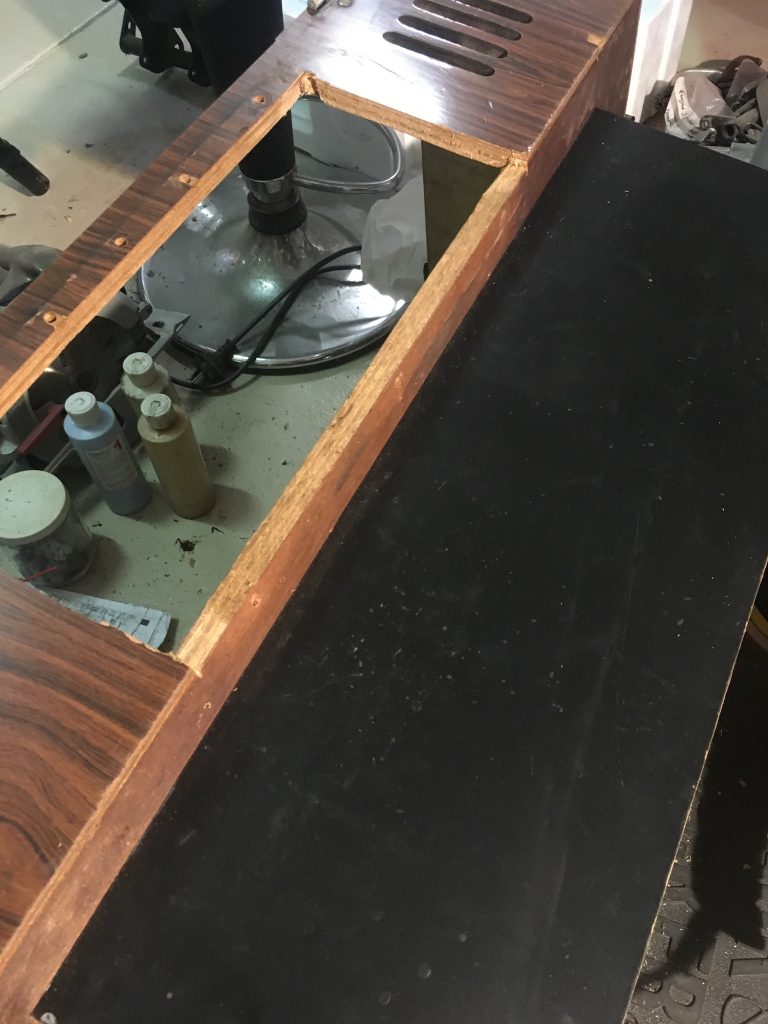
I measured the thickness of the monitor and cut 2 MDF panels that would be just high enough so the monitor is flush with the lid. I used the brackets from the old blinds I had replaced during the house renovation (you really need to keep everything ;-)) to attach those to the bottom of the cab.
One is a bit longer because it had to go across the “pit” where the PSU is:
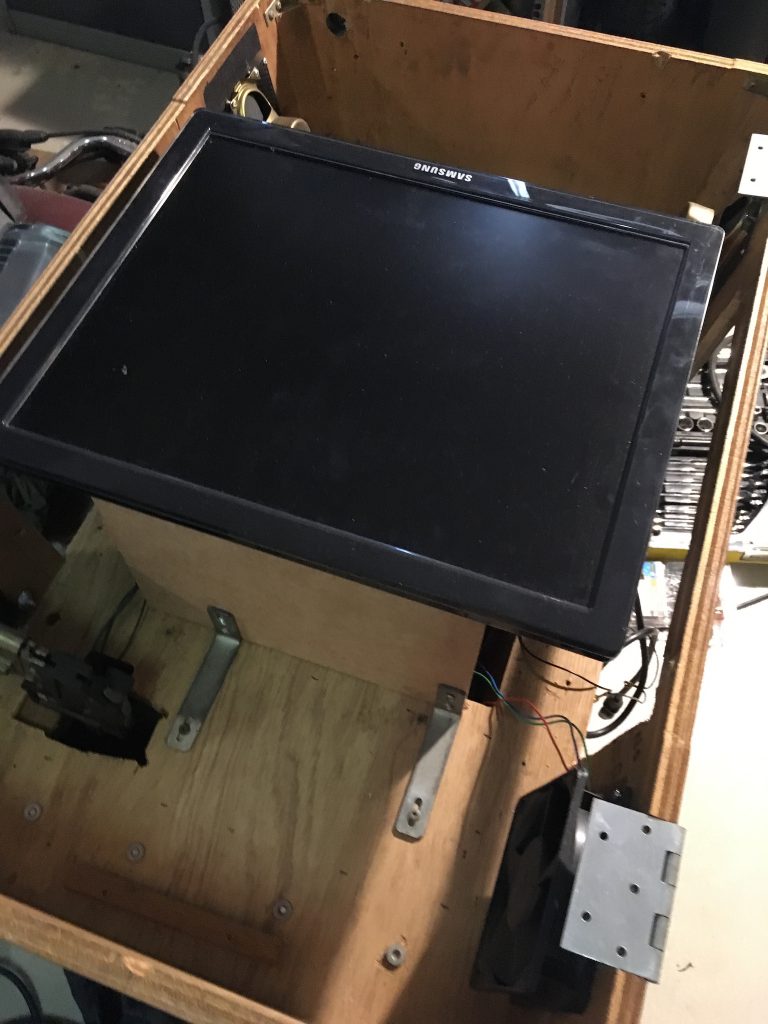
I could then just let the monitor rest on them:
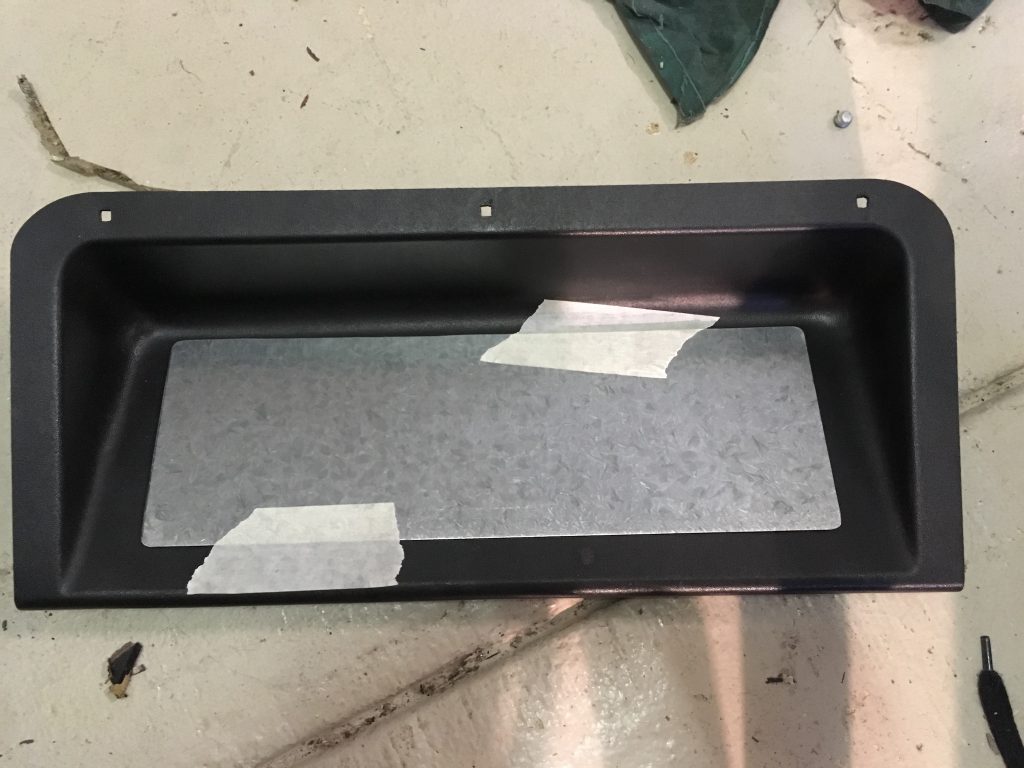
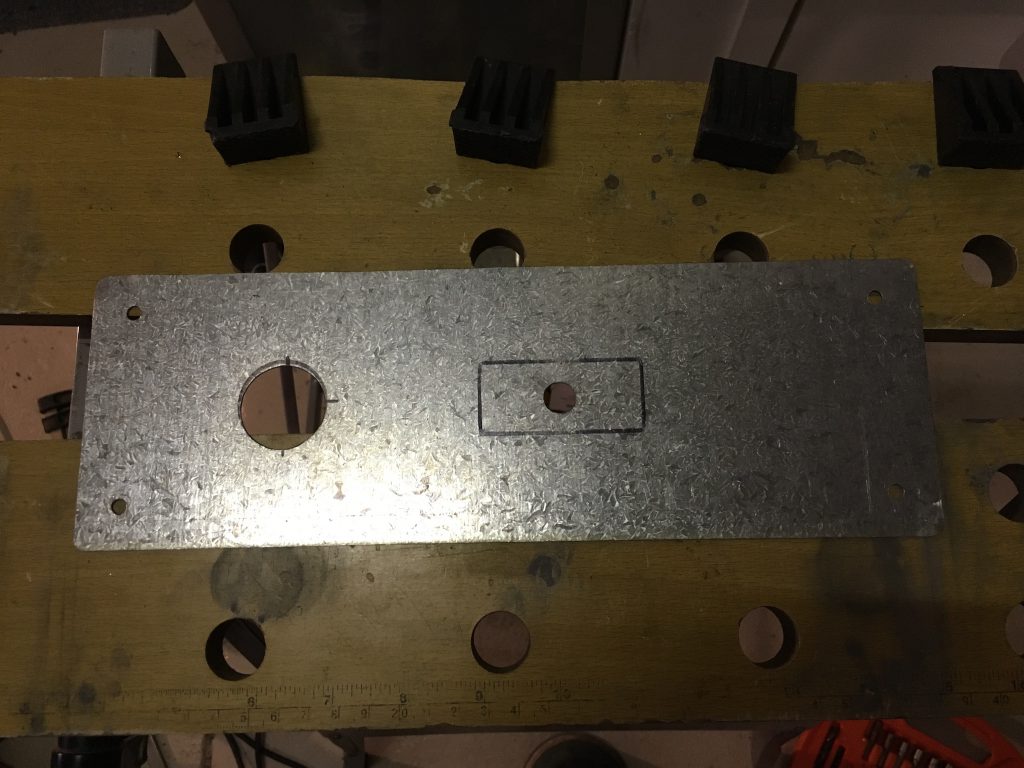
I made the lid window bigger and once it’s closed, the monitor can’t move at all!
The glass on top of it will secure everything in place.
I really like this solution because it didn’t require any dangerous drilling in the monitor case, or uncasing.
Also, I could simply remove it from the cab and use it as before, although I won’t do that 🙂
This is how much bigger the new screen is compared to the old CRT!
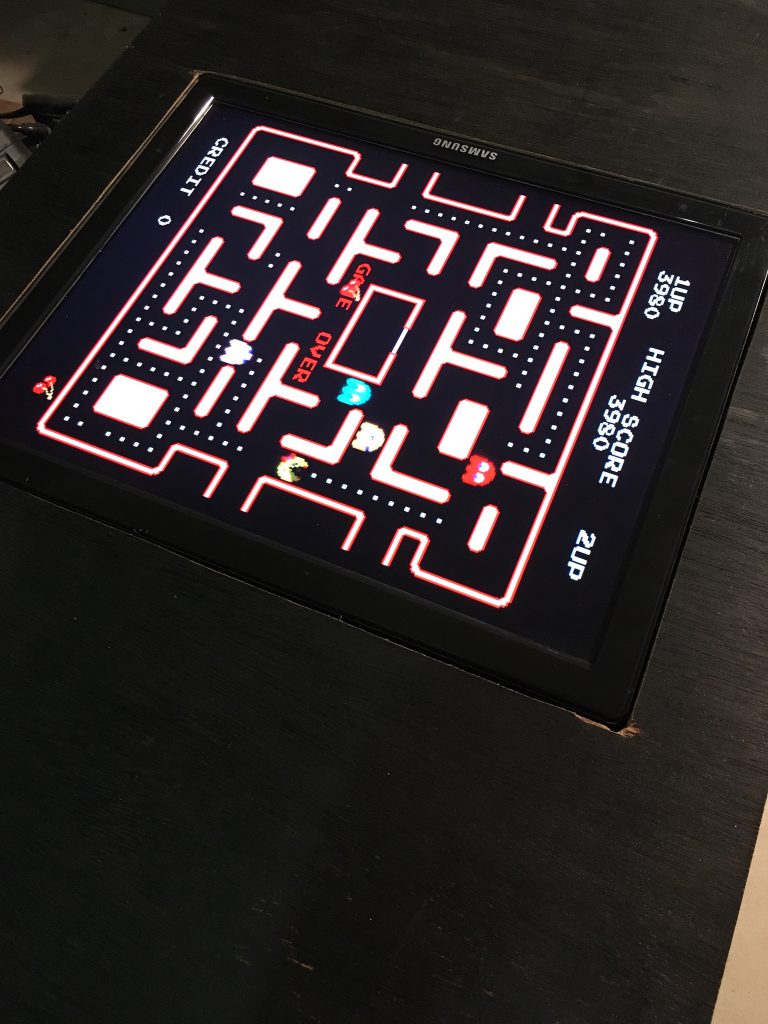
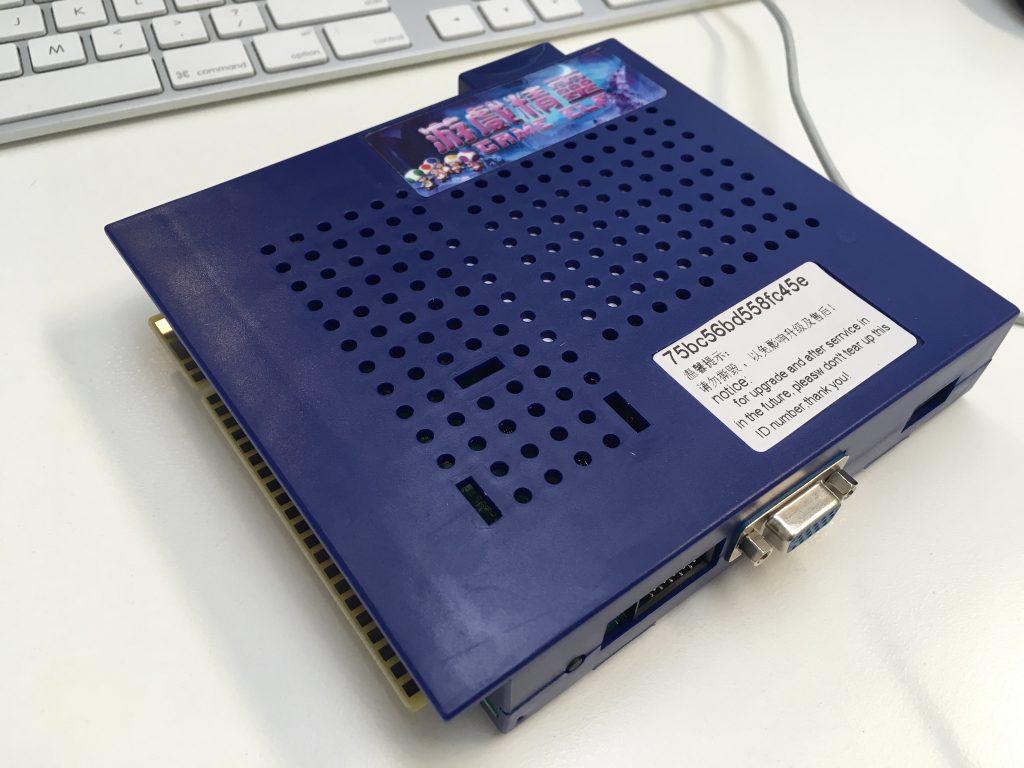
It’s tiny, it’s got Galaga too, plus 411 other games, it will fit without any issue and connects to the original arcade monitor. Theoretically.
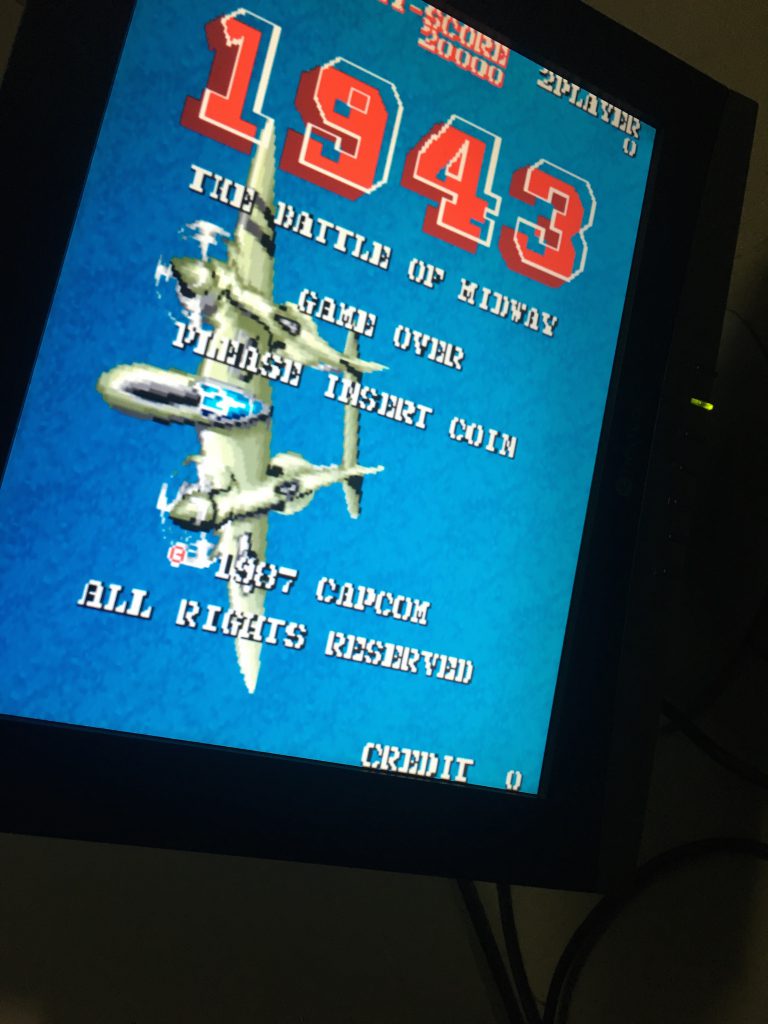
When connected to the VGA output, everything is fine:
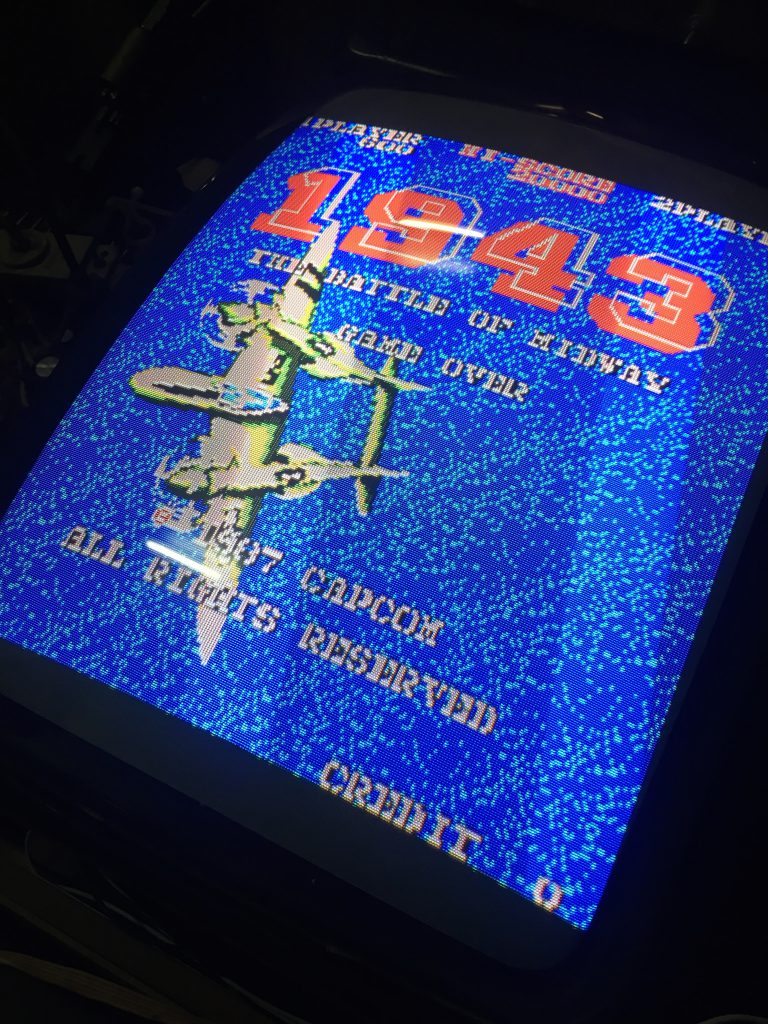
But here’s what happens when you use the CGA mode via the JAMMA harness:
Yep. CGA is 15Khz so the image is fine but the issue is, it really is a CGA mode, with a palette of 16 colours.
It was OKish on older games like Galaga and Pacman (even tho you could see some colour differences) but definitely not acceptable on newer ones, and the whole point of upgrading to a 412-in-1 was to get access to newer games too.
I know some people will cringe when reading that, but, it was time to upgrade the monitor to an LCD one.
To be honest, I explored a few options and was hesitant about that, but, it’s a clone so it doesn’t have to a perfect replica of what it was before, and when I saw a gorgeous the image was on the other monitor I was planning to use, there was no doubt it was the right direction to take.
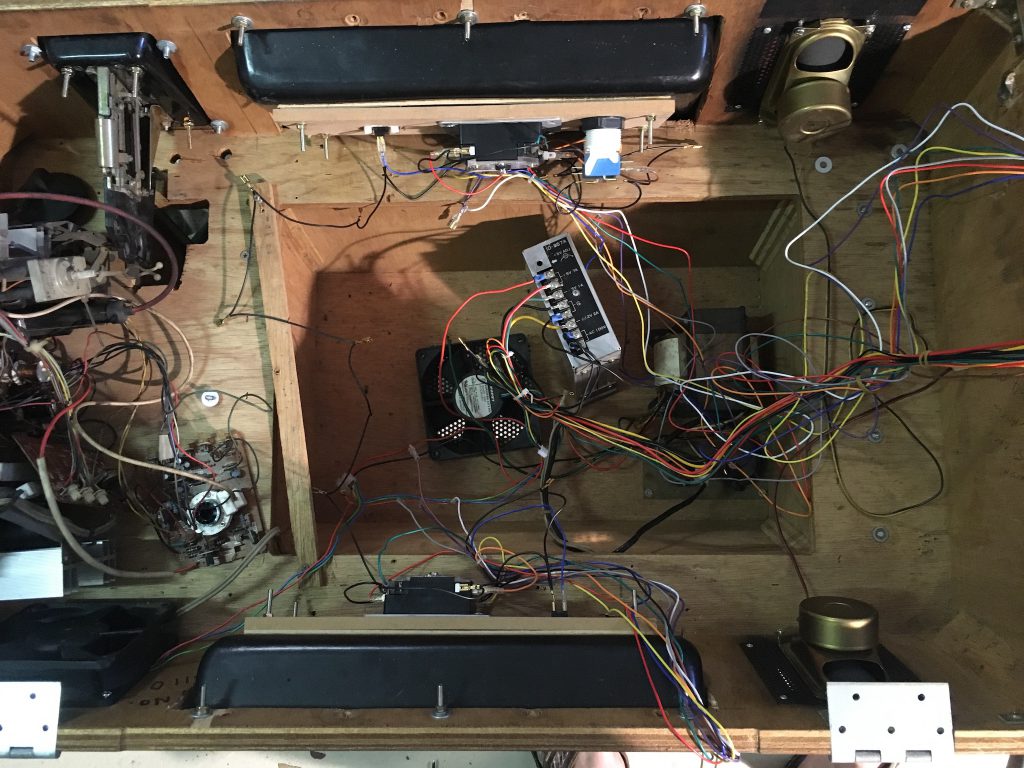
So, I was rewiring everything JAMMA (oh, the joy) to use a Gallag JAMMA adapter and get rid of the old dodgy wiring.
During that process I found out that the adapter I had was incorrect for the video part. Sync and Ground were inverted and I spent almost a night trying to figure out what was wrong until I triple checked the original wiring and noticed that it didn’t make any sense, especially when fitting another unknown game would produce a good image.
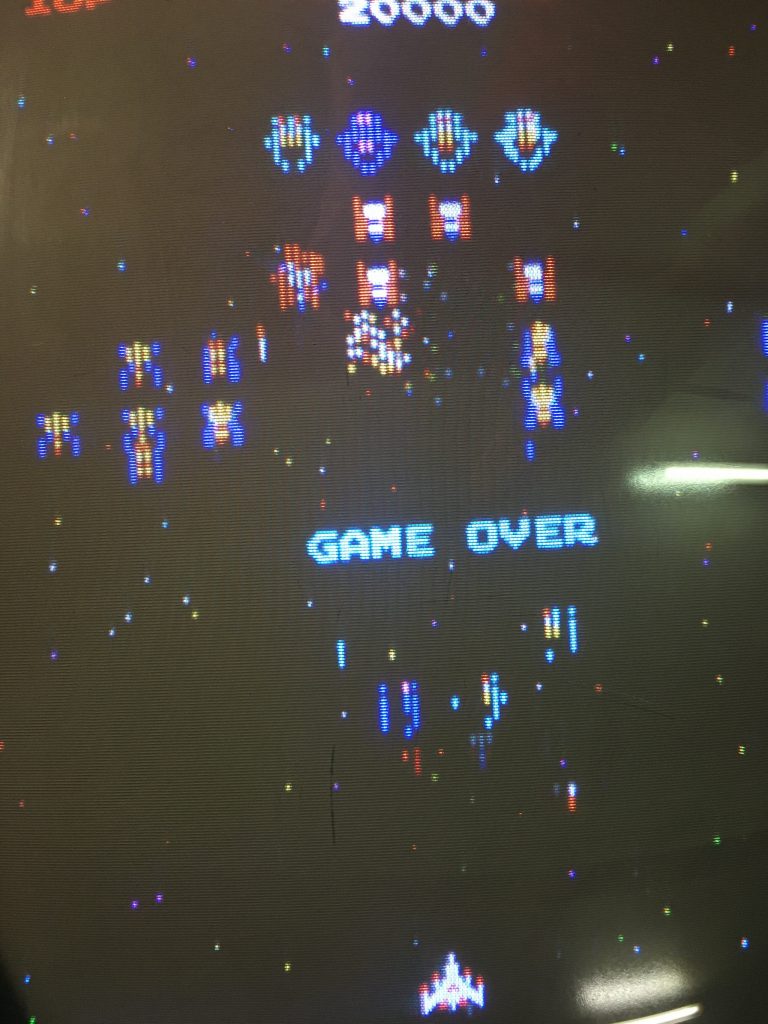
I was about to jump out of joy but I noticed that:
Hang on a second, artefacts and missing lines in the sprites, aaaaargh.
So, I’m not sure if the PCB didn’t like the Queensland summer or if I fried something when messing around with that sync issue, but there you are, I had a buggered PCB.
This is when I had to reconsider the entire “original” cab project because I ended up with a bad PCB that I couldn’t fix.
I desoldered the 2 RAM chips and could determine which one was causing the issue but swapping them would still work so they are both OK. I suspect a bad track of another bad chip somewhere but I had already spent way too much time on that.
On top of that, the PCB + JAMMA adapter didn’t fit in the cab and I would have had to create another adapter to get a flexible connection between the PCB and the JAMMA connector.
So I decided to buy a 412-in-1, and call it a day… But wait, there’s more in the next episode!
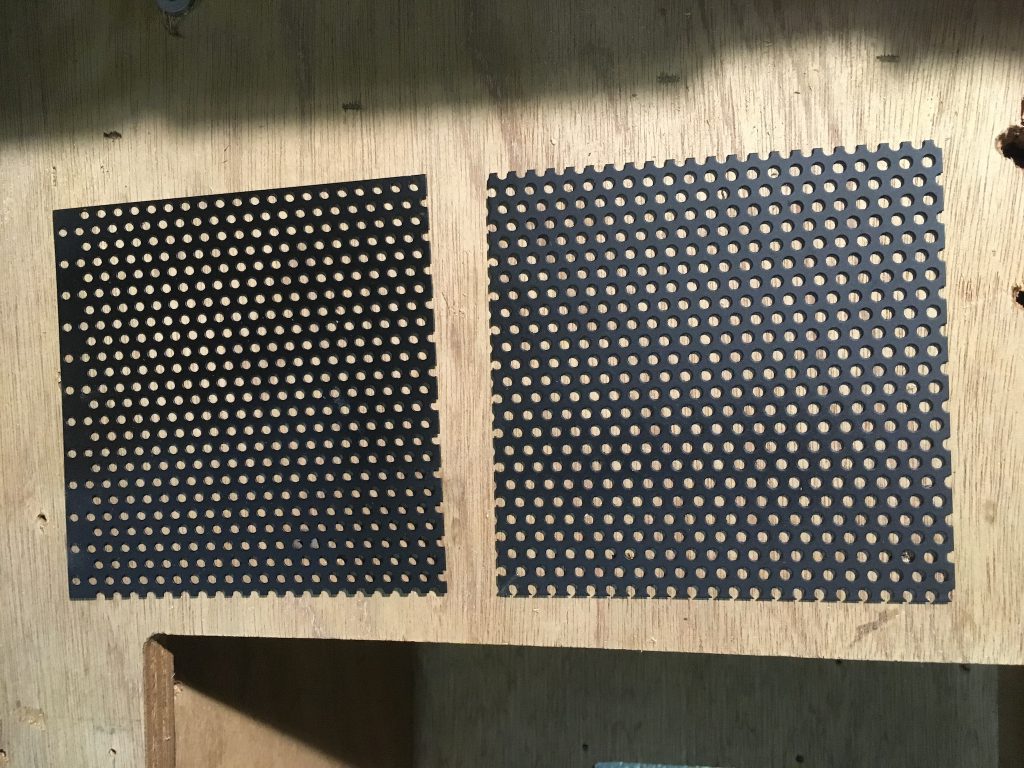
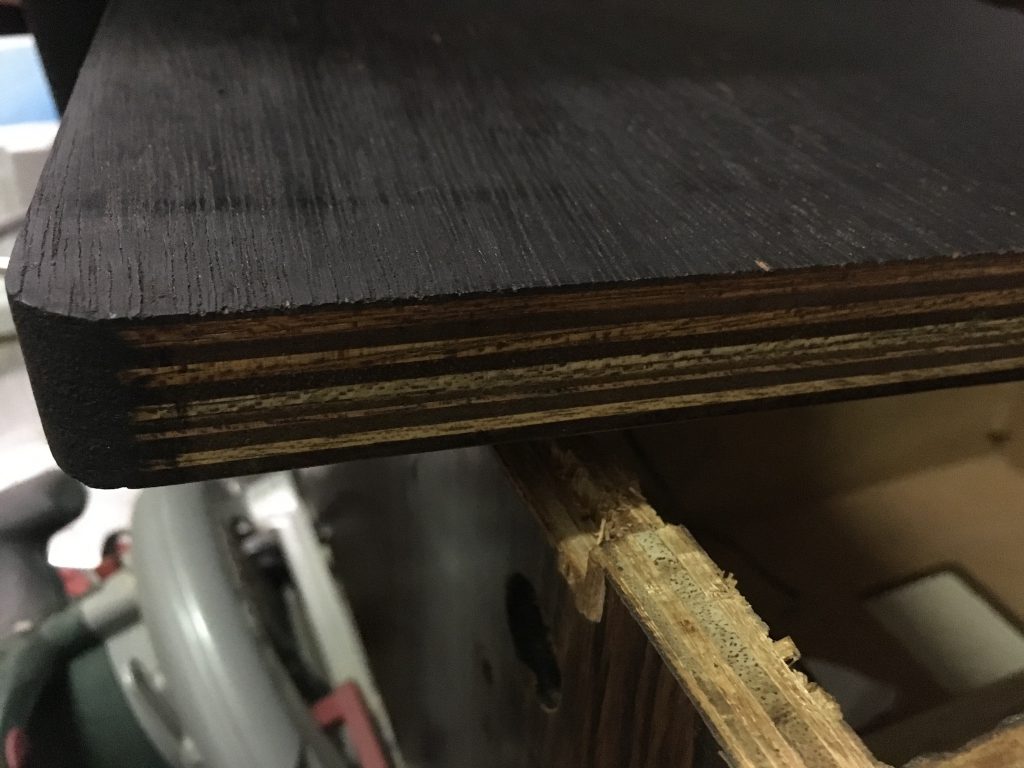
The grills are sanded and painted in matte black (this is just 2 out of 4):
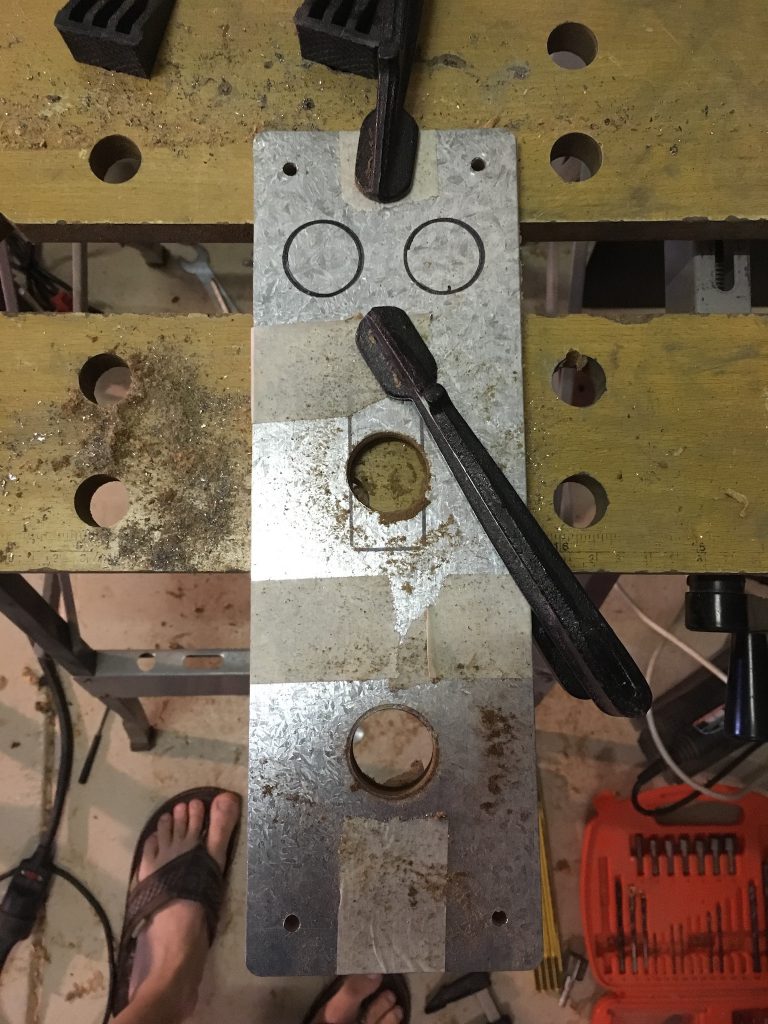
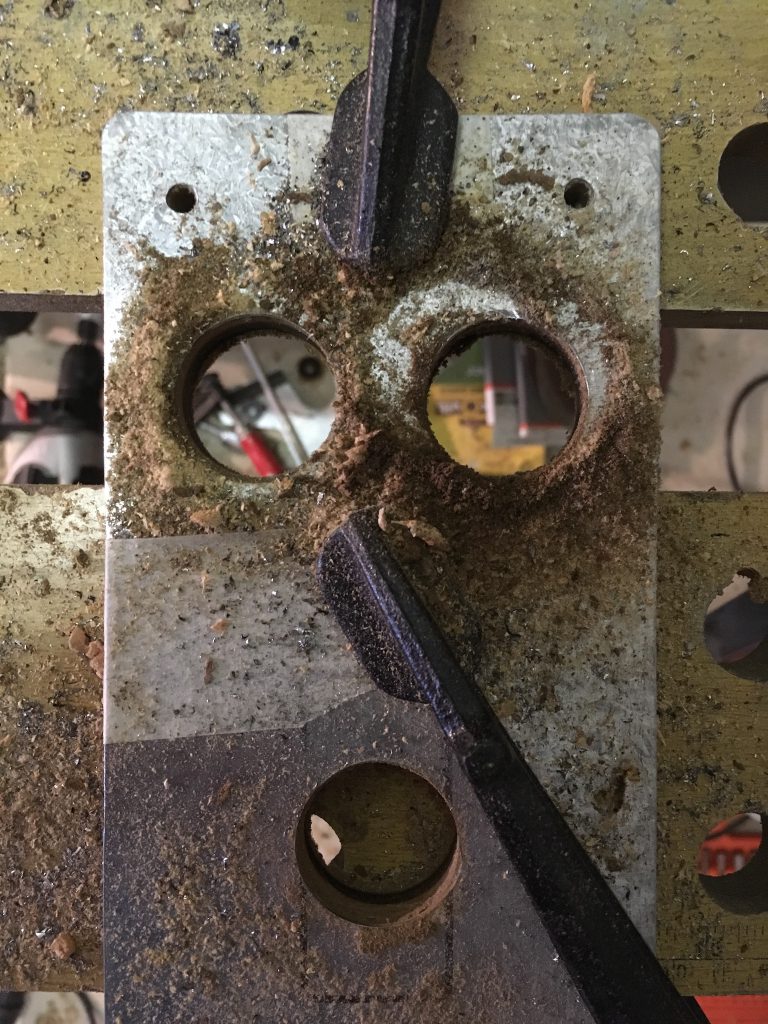
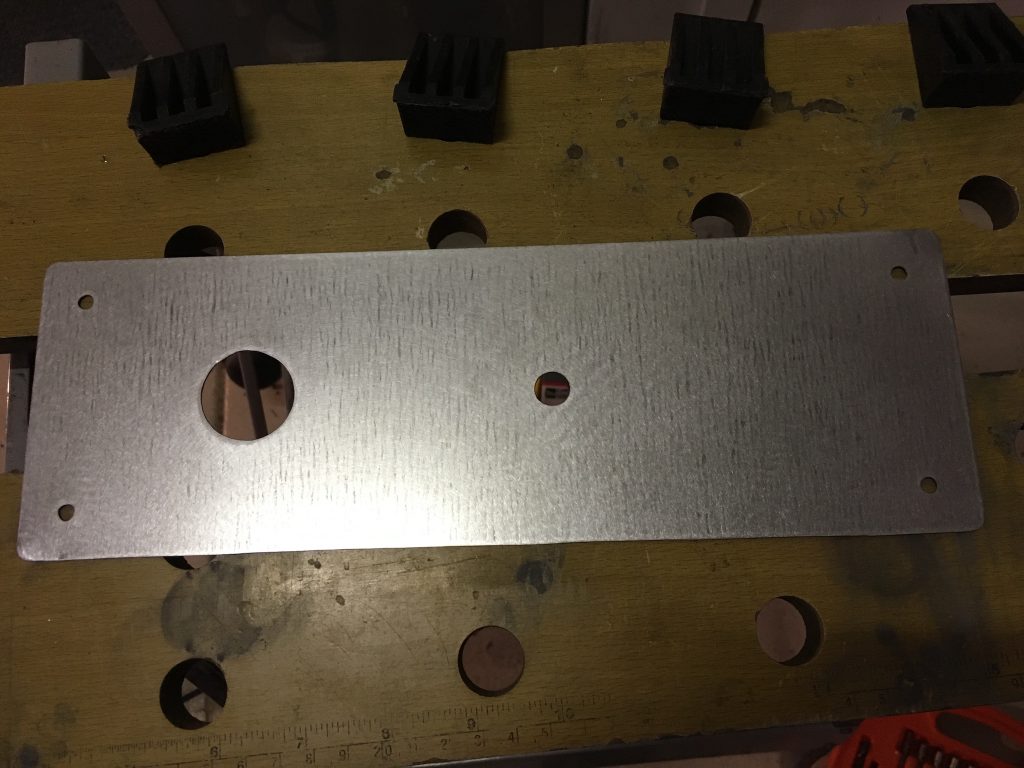
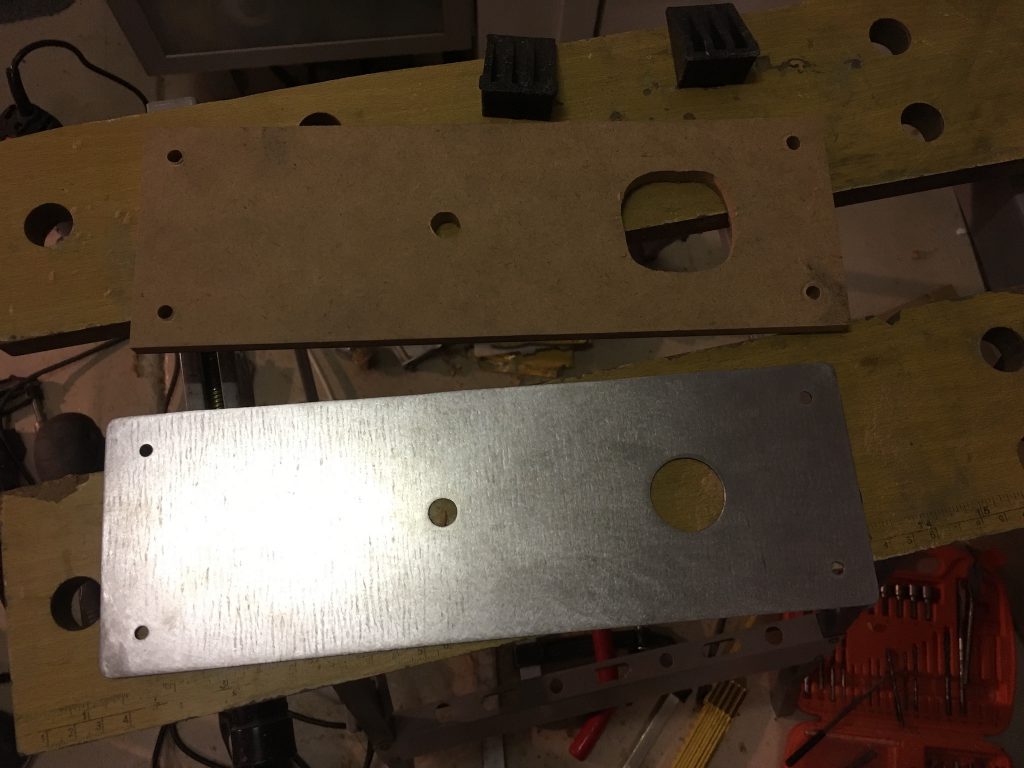
The joystick bolts I bought are perfect for the control panel!
The lower part of the cab, before:
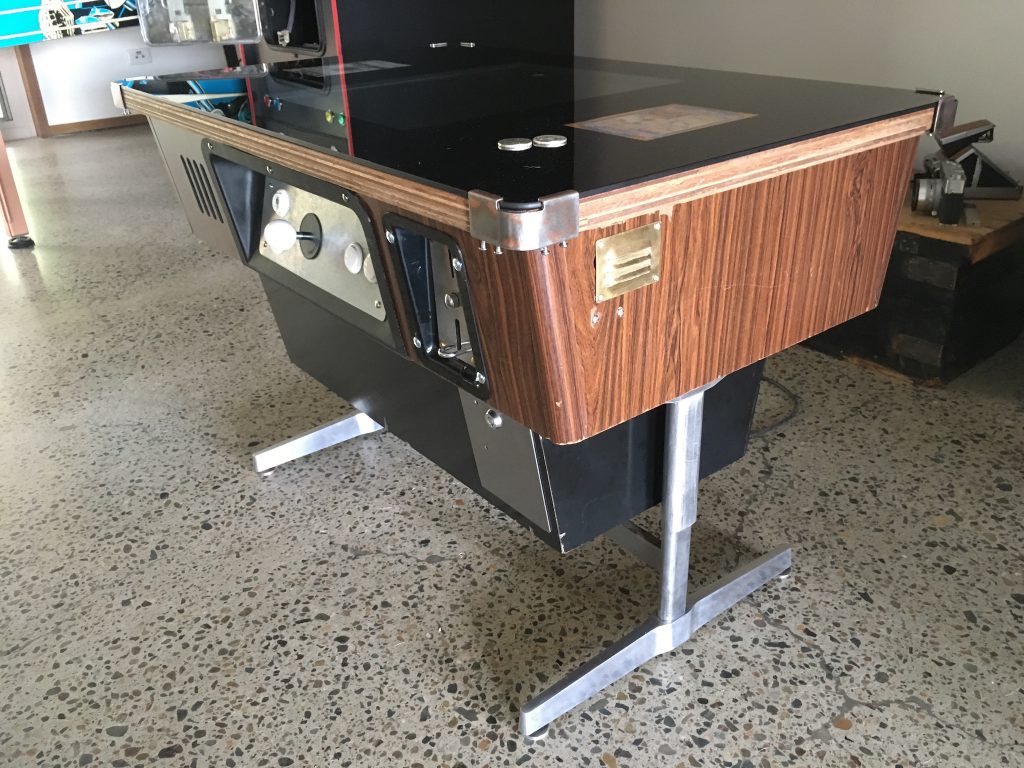
And after polishing:
There are still a few dents but the goal with this project is to get something authentic, not perfect so I’m pretty happy with just polishing the cab. You can see the top laminate is also shiny after polishing.
Well, it appears all clones were not the same. Strange, isn’t it?
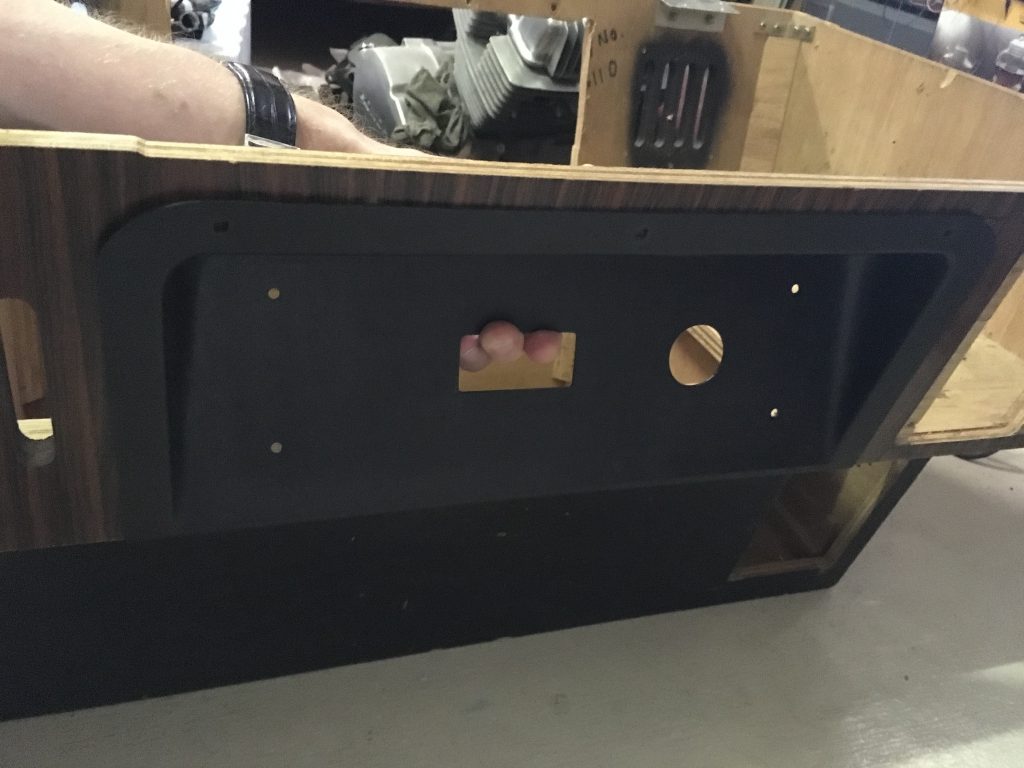
The bezels I received were of the correct shape for my specific clone, but a bit larger. About that larger:
A bit of jigsaw action later, there you are:
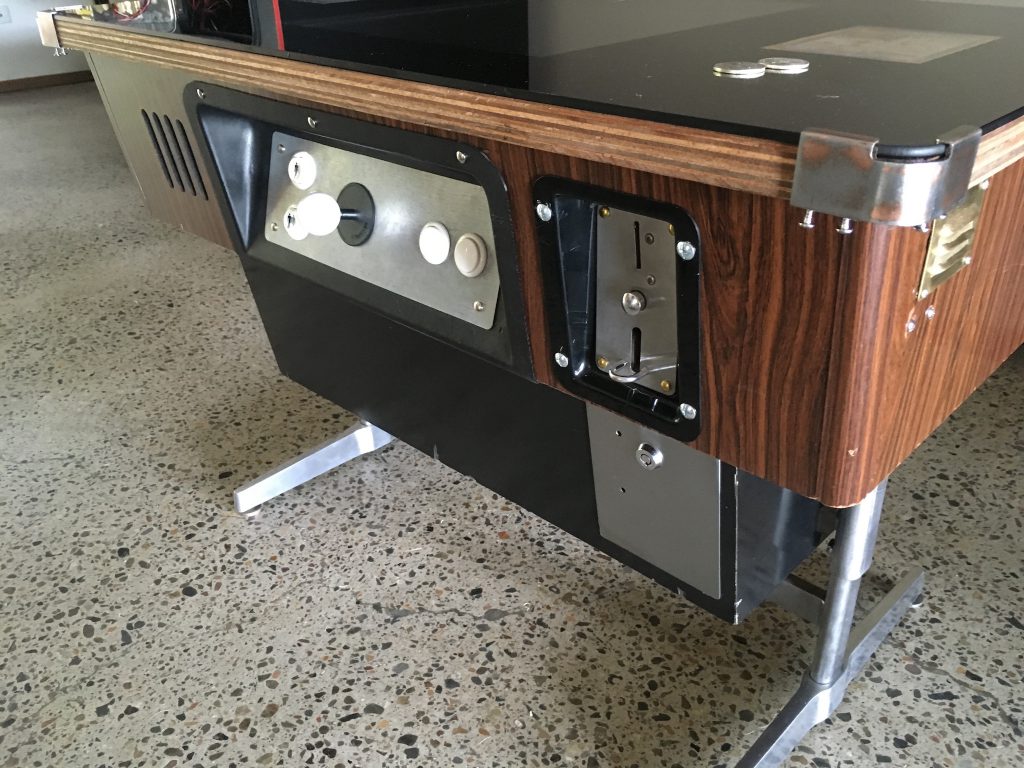
This is the side where the coin mechanism is, I had to cut all the extra room needed on one side only as I had not enough clearance next to the coin mech.
On the other side, I could center it and trim both edges:
The cuts are not perfect but I don’t really care because it will be covered by the bezels.