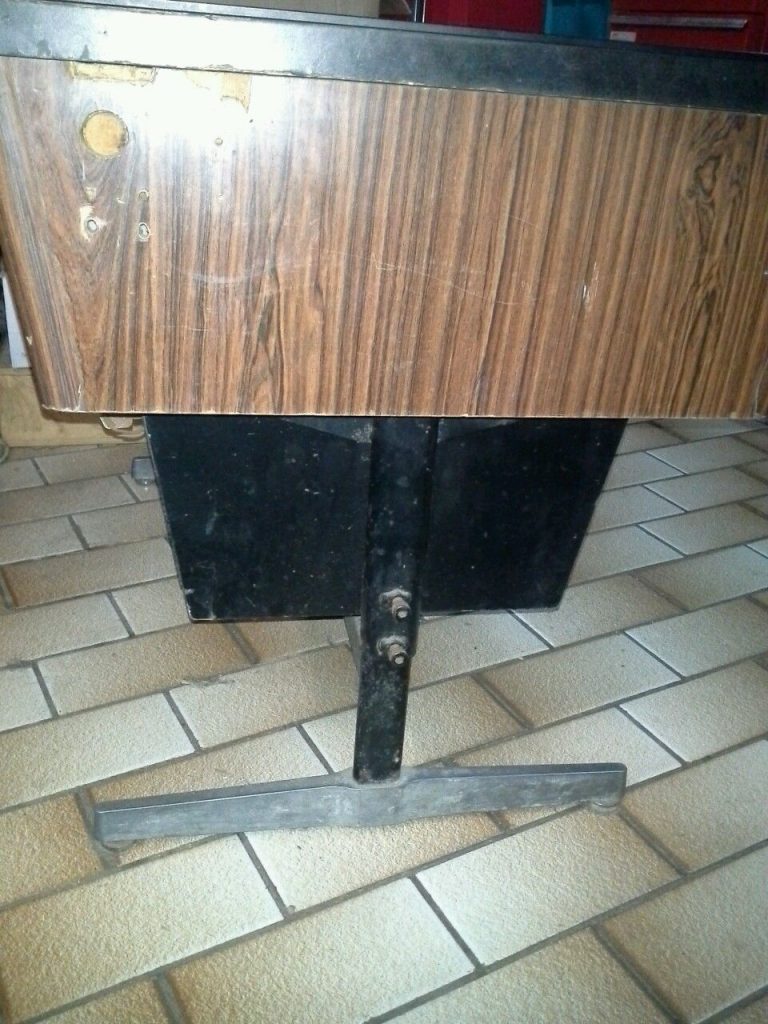
A detail of the legs, after a few coats of clear.

A detail of the legs, after a few coats of clear.
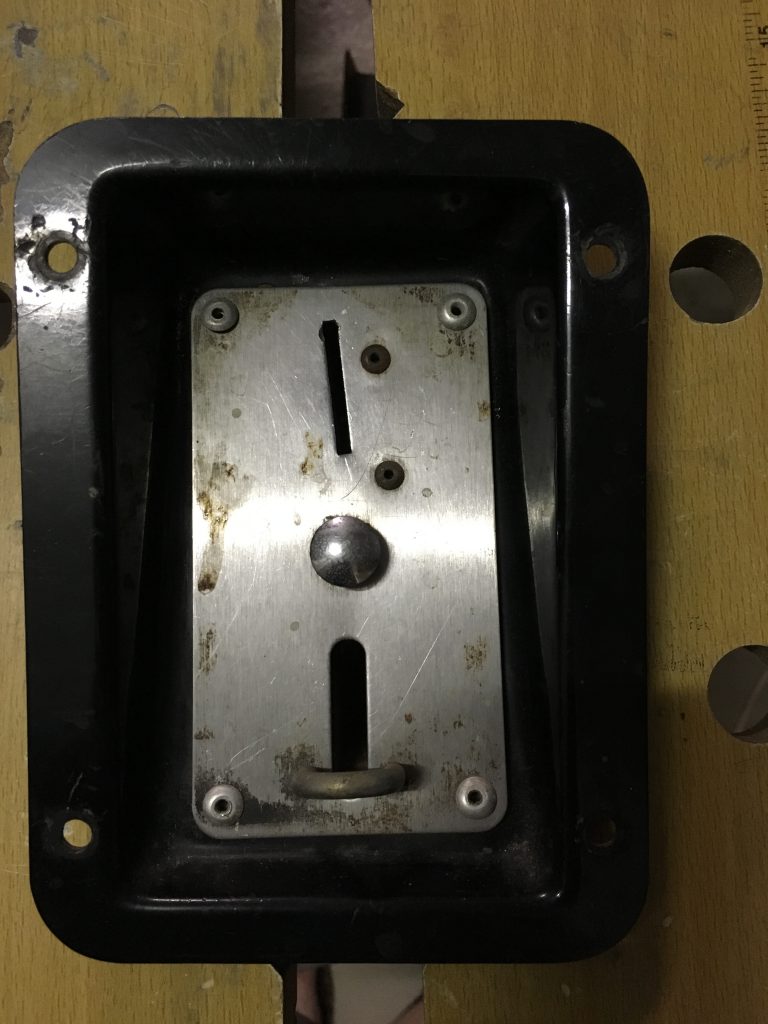
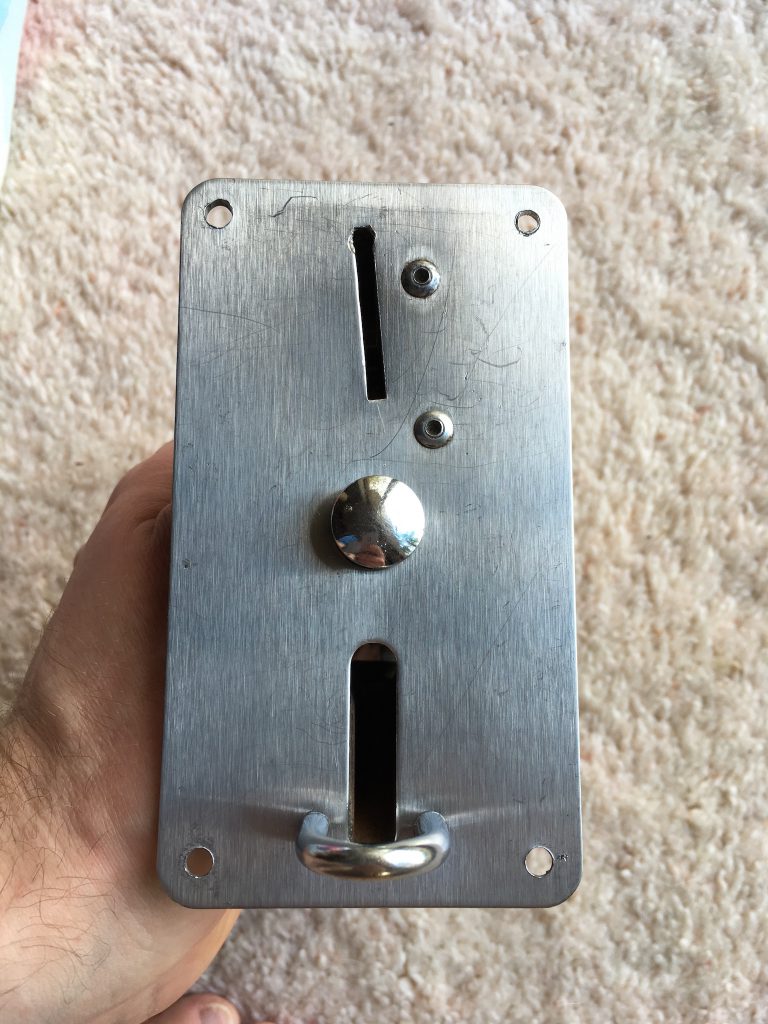
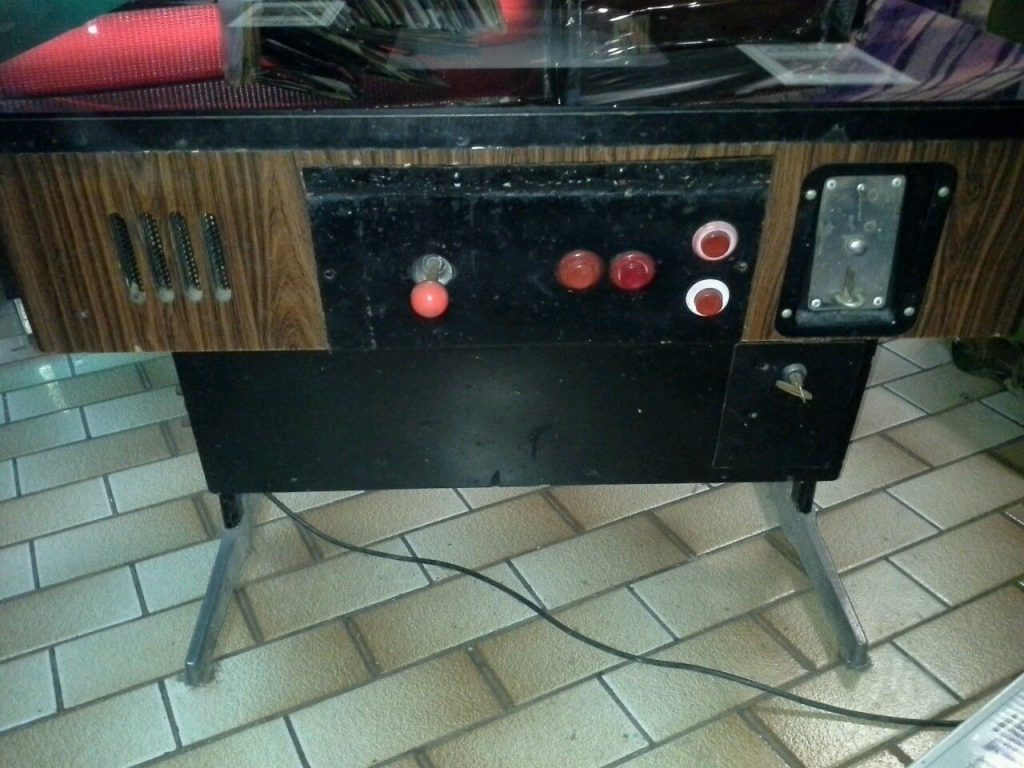
The coin mechanism needed a bit of love, and got some!

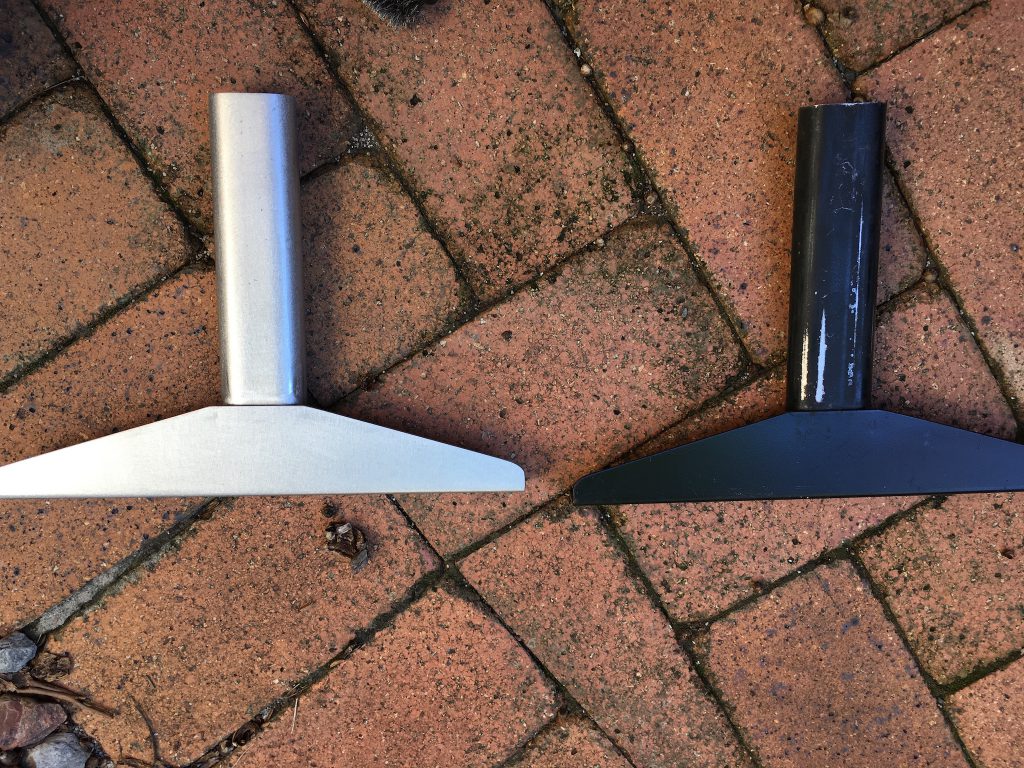
Today I had a go at the aluminium feet and they now look a-ma-zing
That was a rough sanding 80 grit
Sanded down to 400 grit
After the compound polish and cleaning!
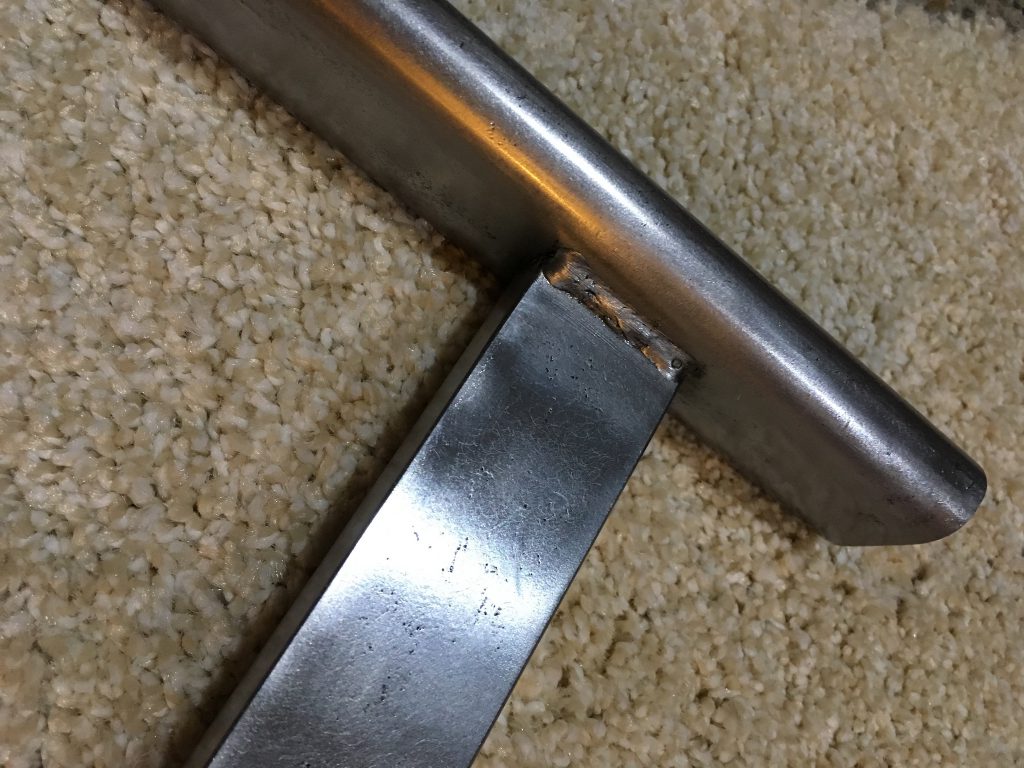
Last week-end I had a go at the upper legs.
I will completely strip them, but will paint them back in black.
I’m also planning on using shorter bolts and reverse them because I think the exposed bolts and welding joints look a bit stupid. By reverting them, the bolts will be facing the inside and will almost disappear. It’s not like you’re adjusting the legs height everyday…
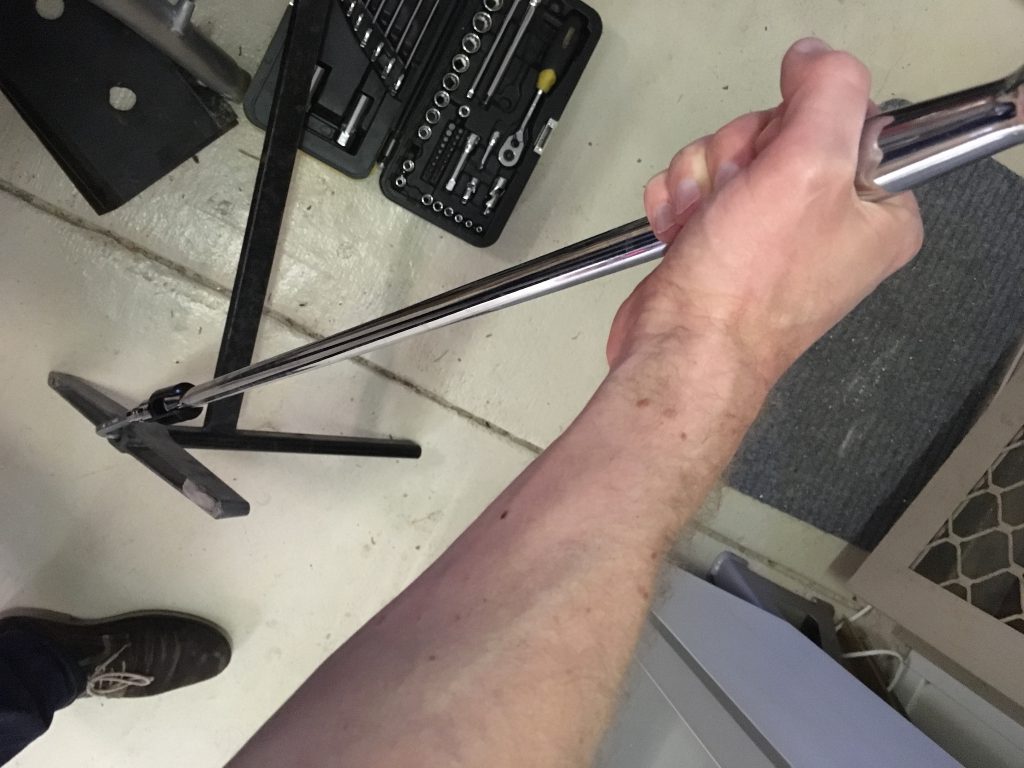
There’s nothing better than a very long breaker bar to break some very tight bolds loose!
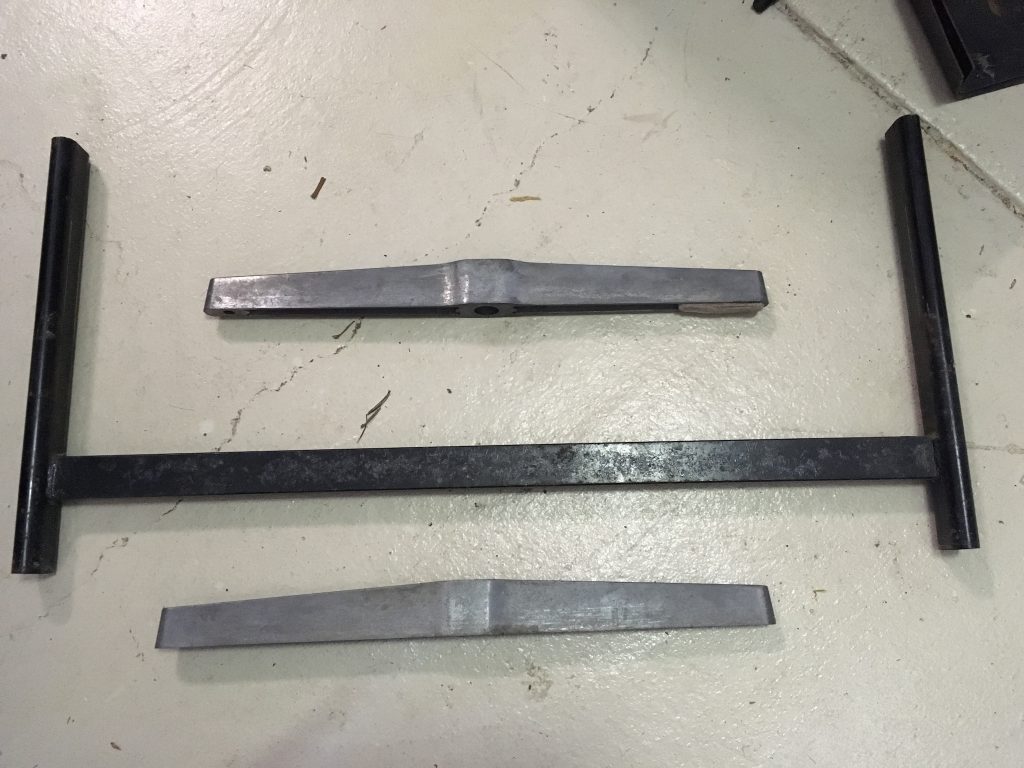
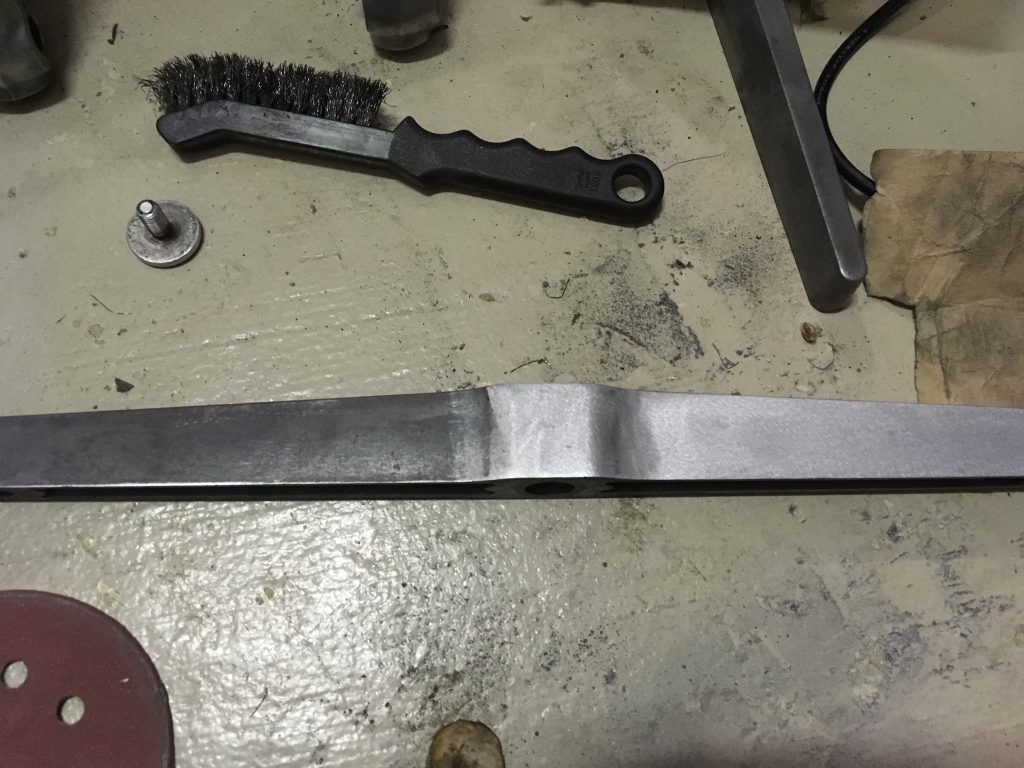
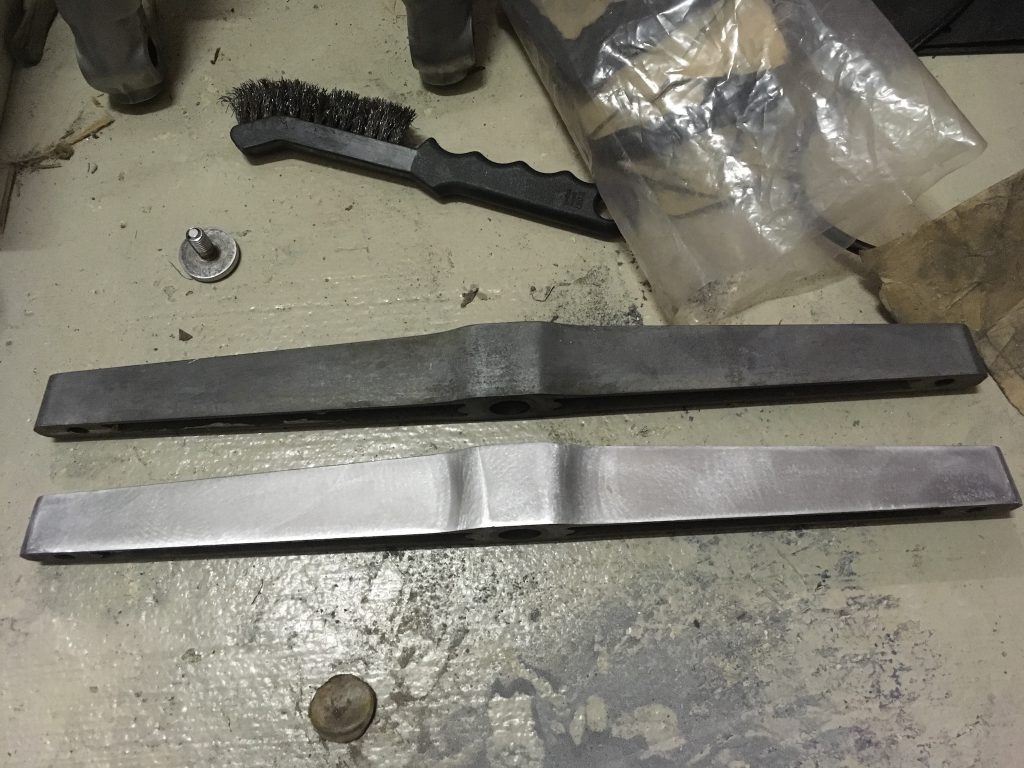
Now I can work on the lower legs and the aluminium feet separately.
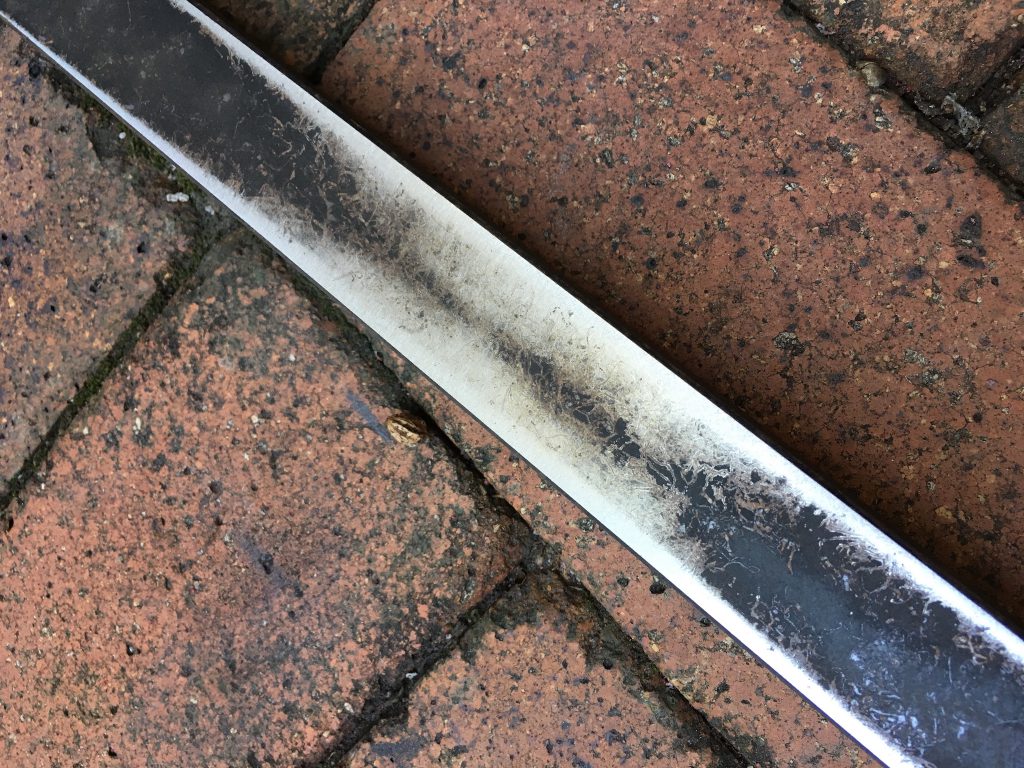
The feet will be polished, and the lower legs sanded and clear coated, to get a nice patina.
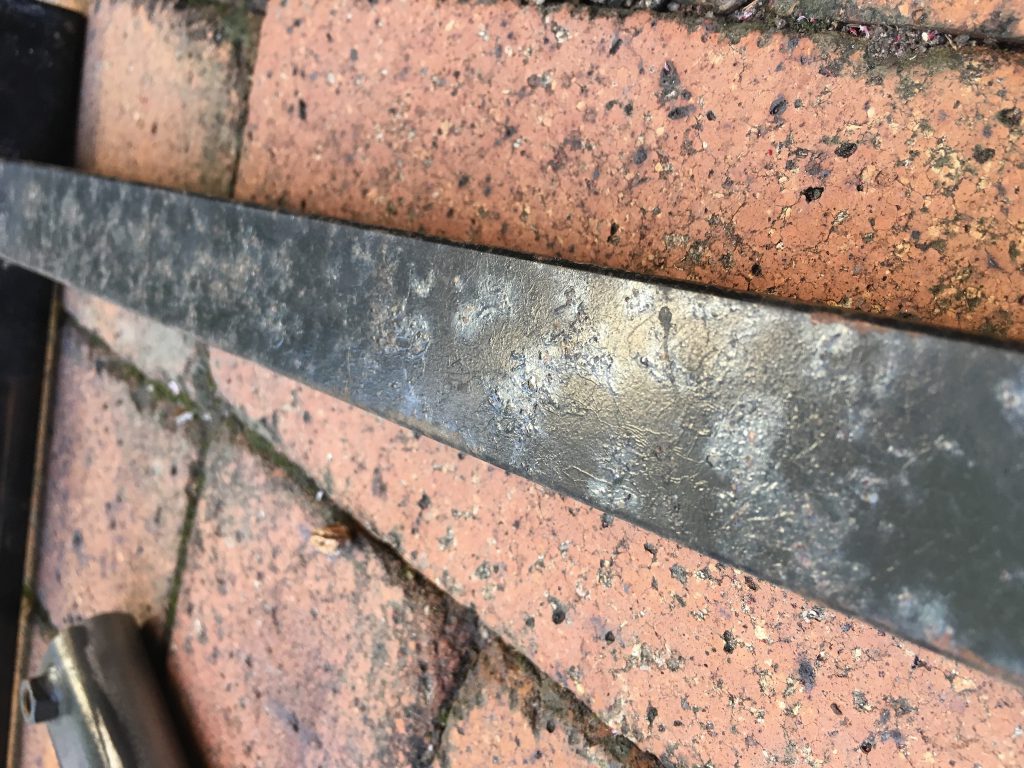
Yep, not looking good at all…
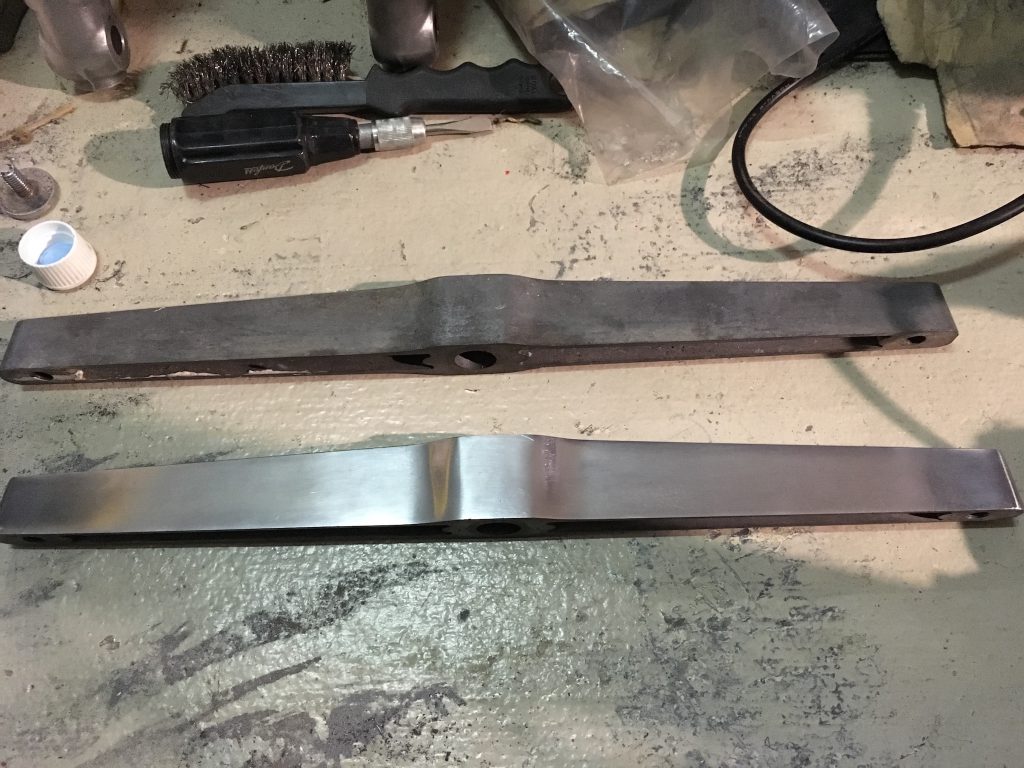
Getting there…
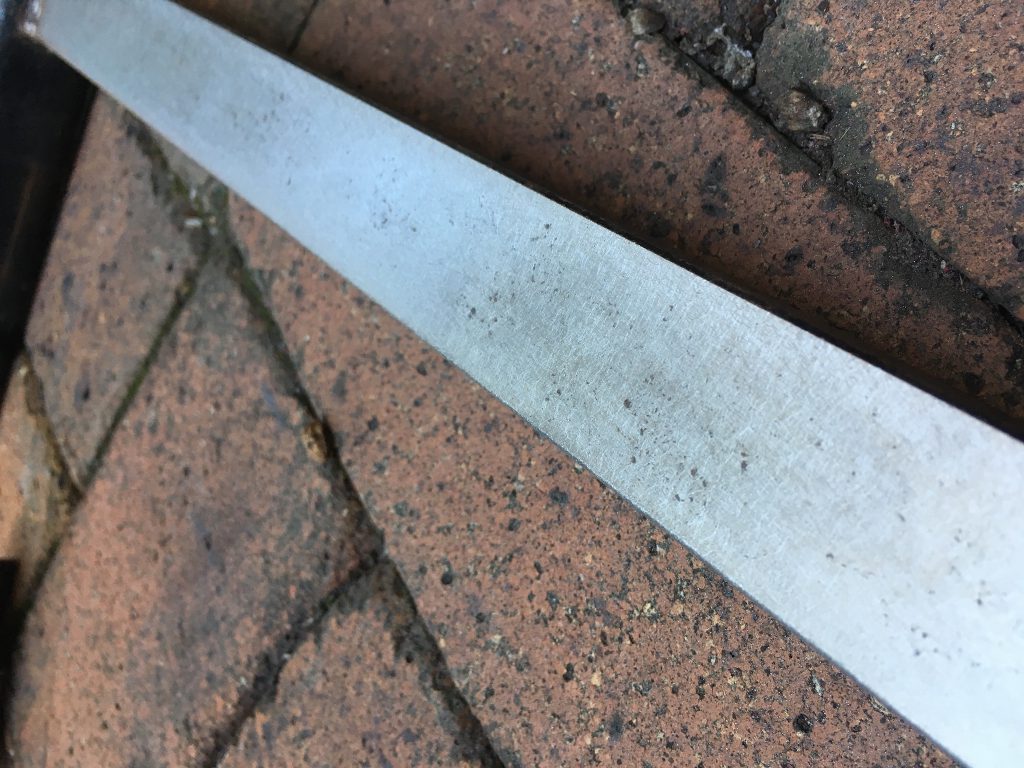
That’s the final patina I’m after!
Let’s take this thing apart and clean it!
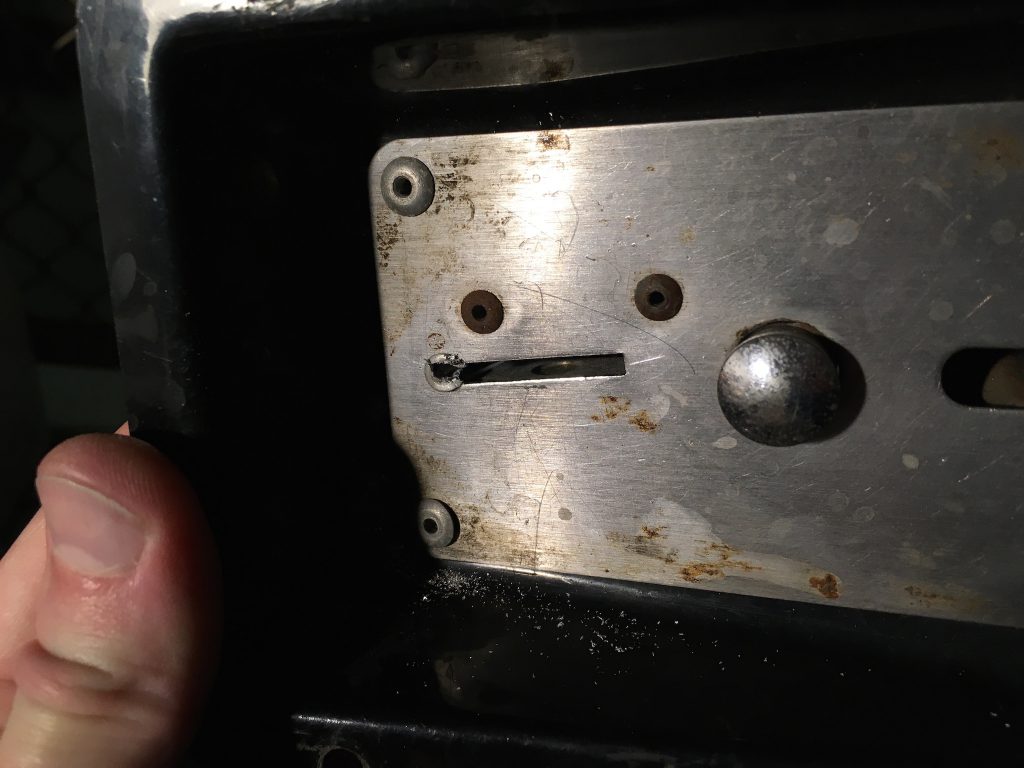
The coin mechanism had a rivet in it. Even tho the internals are for 20cents, you couldn’t fit a 20 cents coin anymore. Drill it, throw the rivet away, adjust the mechanism and there you go! The next step is removing the other rivets, clean it up and put some new rivets or bolts. I’m not gonna break into my own machines so nice allen head bolts might look better. We’ll see.
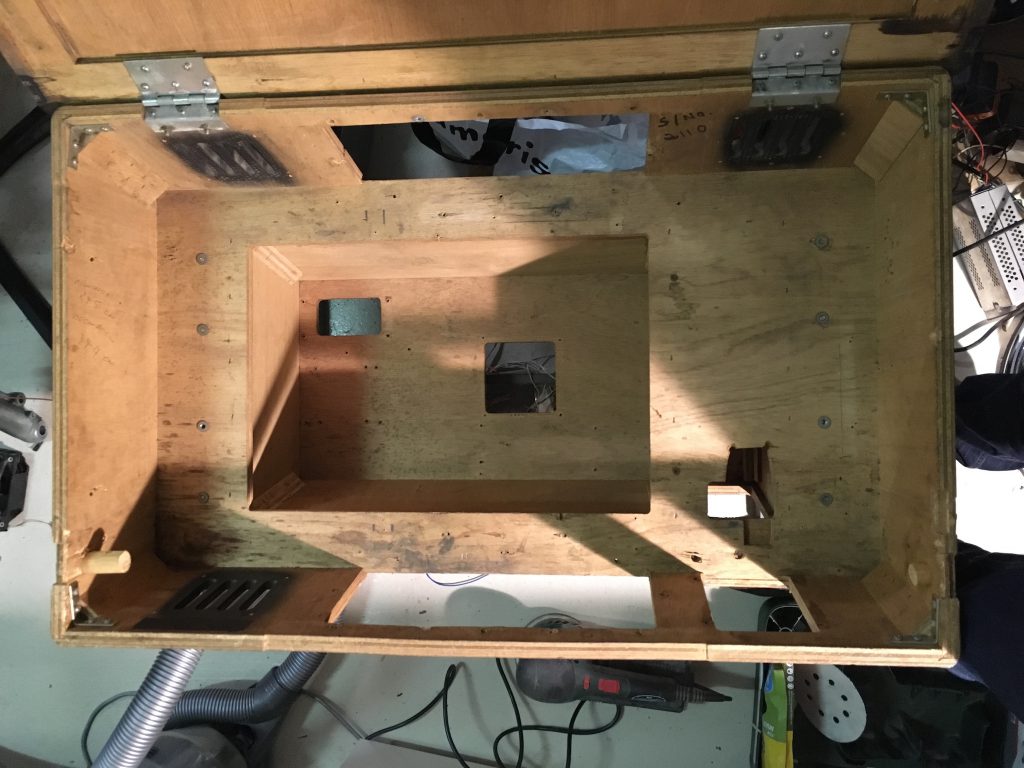
The stripped down, vacuumed upper cab. Not too bad, but could be a bit better.
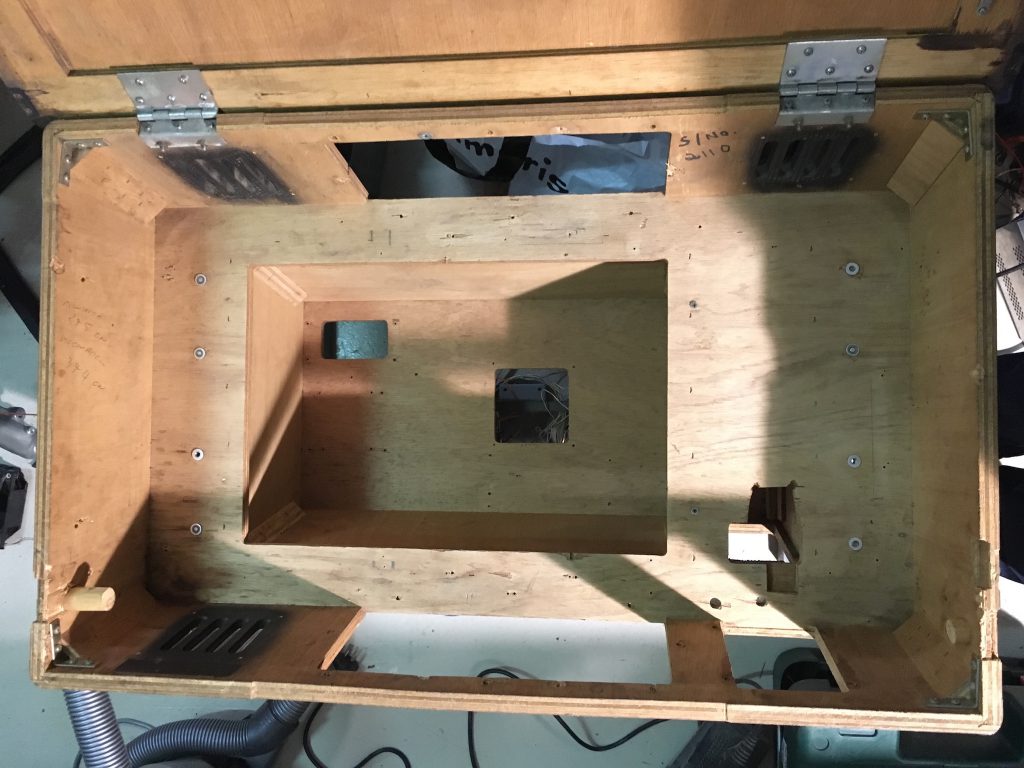
That’s more like it. Sanding it a bit makes it look like new again. Well, almost, but I won’t do a perfect inside restoration. Purists will say that’s a crime but hey, how often do you open the hood?
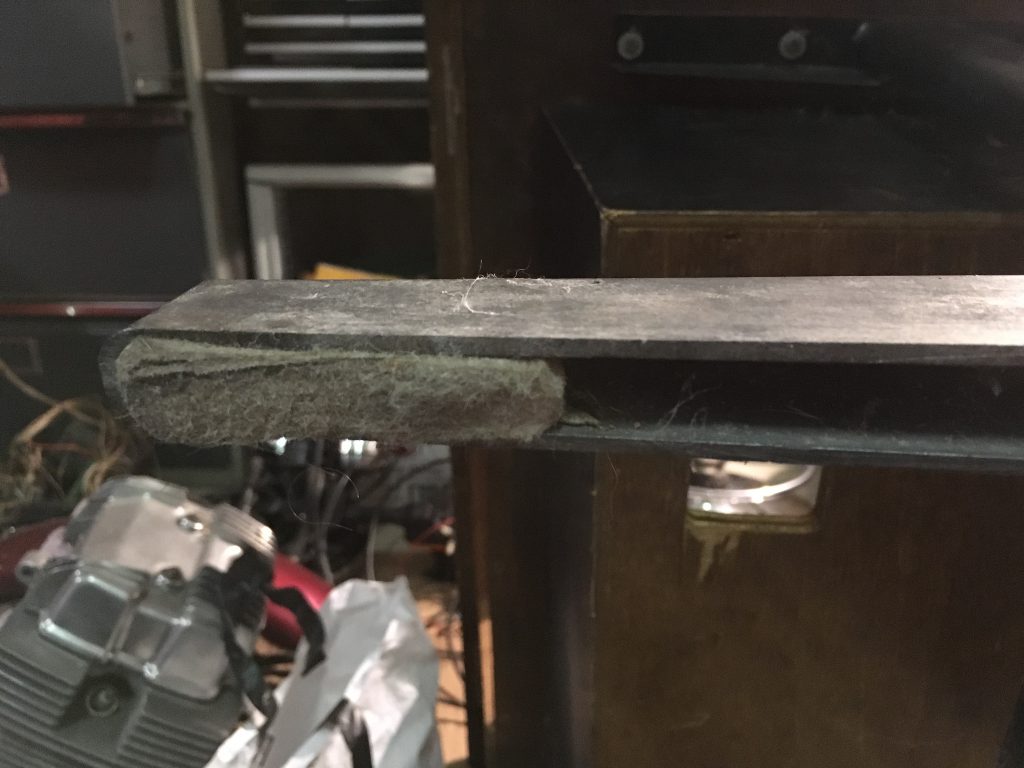
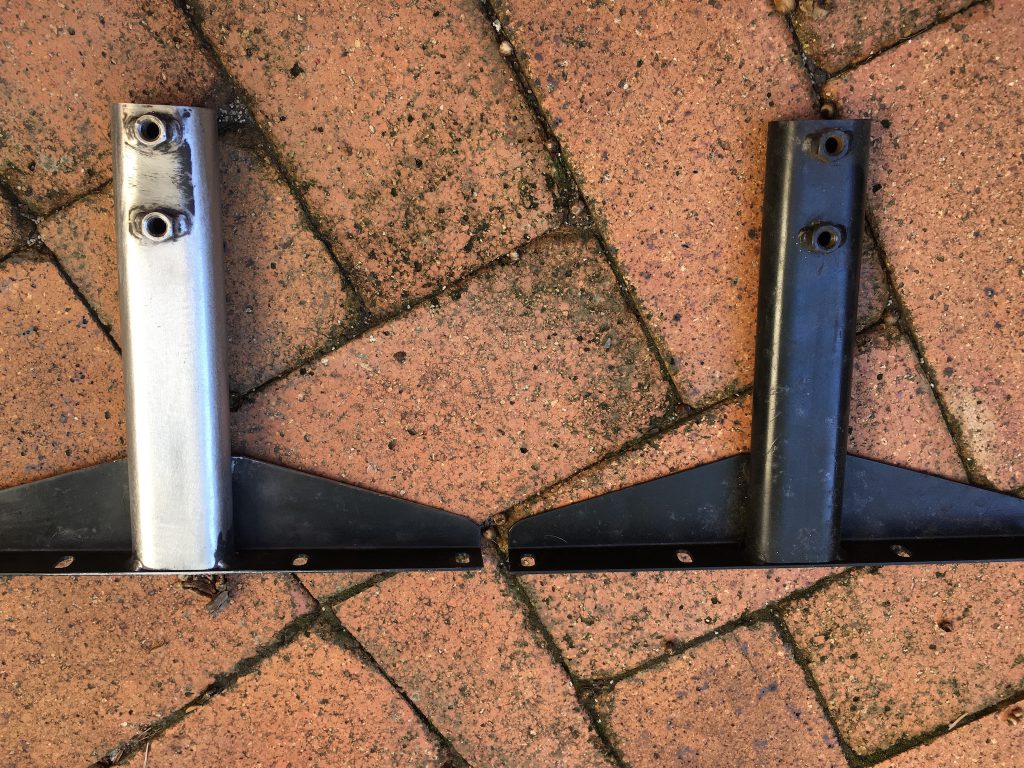
The aluminium feet. What’s that felt on one of them? Well, I have a missing foot, and I reckpn it’s been missing for a loooong time seeing they decided to equip it with a bandaid felt foot. I’m still not sure if I’ll try to source the missing foot, replace all of them with pinball feet (they are a bit larger but the thread is the same, once shortened, they would definitely fit), or just put some rubber feet on the 4 legs.
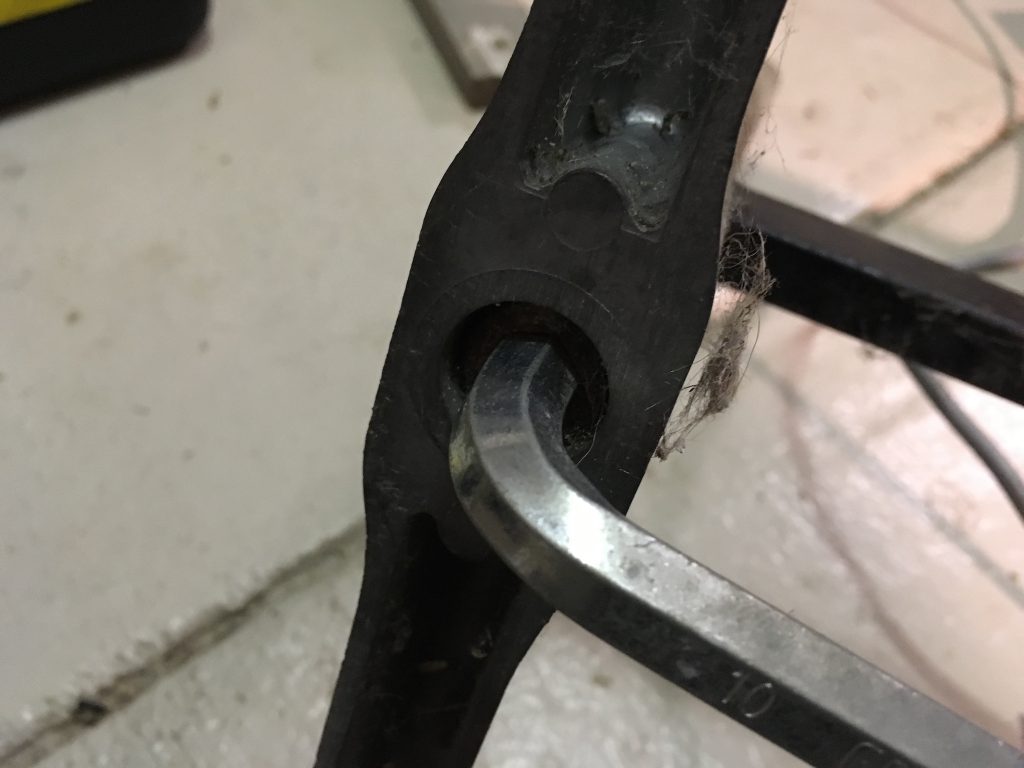
The allen key engaged in one of the picture is my attempt to unscrew the aluminium from the rest of the leg, so I can sand the upper part to get a nice brushed metal finish without scratching the aluminium. It’s so tight I’ve let it sit in WD40 for a week, we’ll see how it goes.
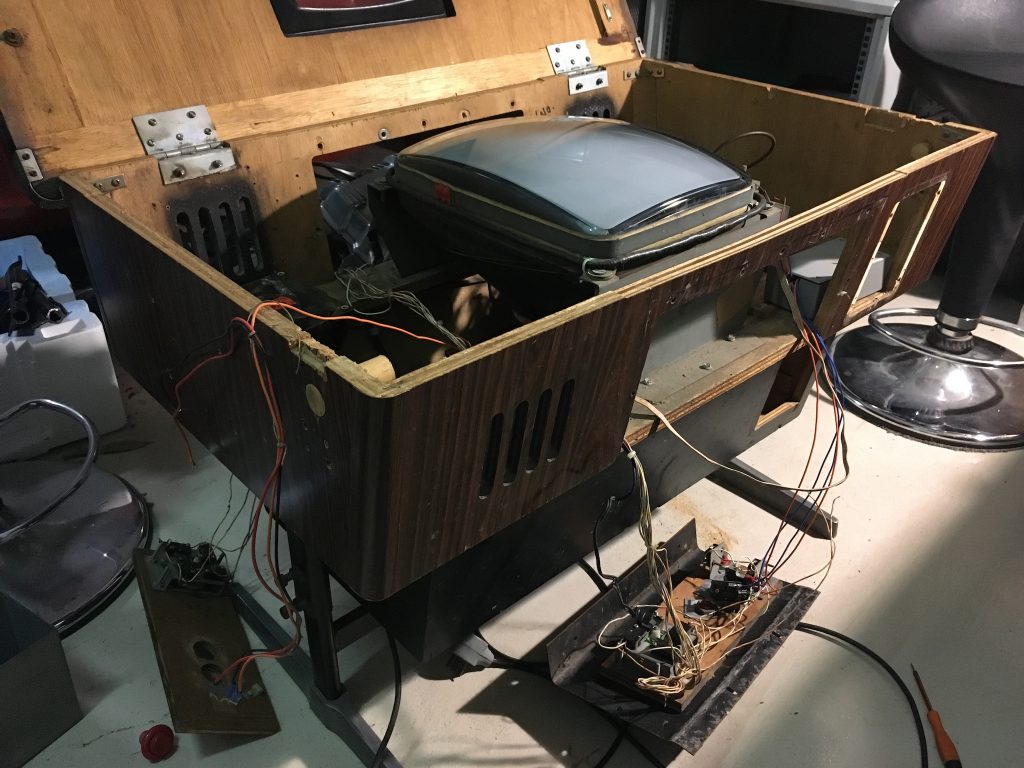
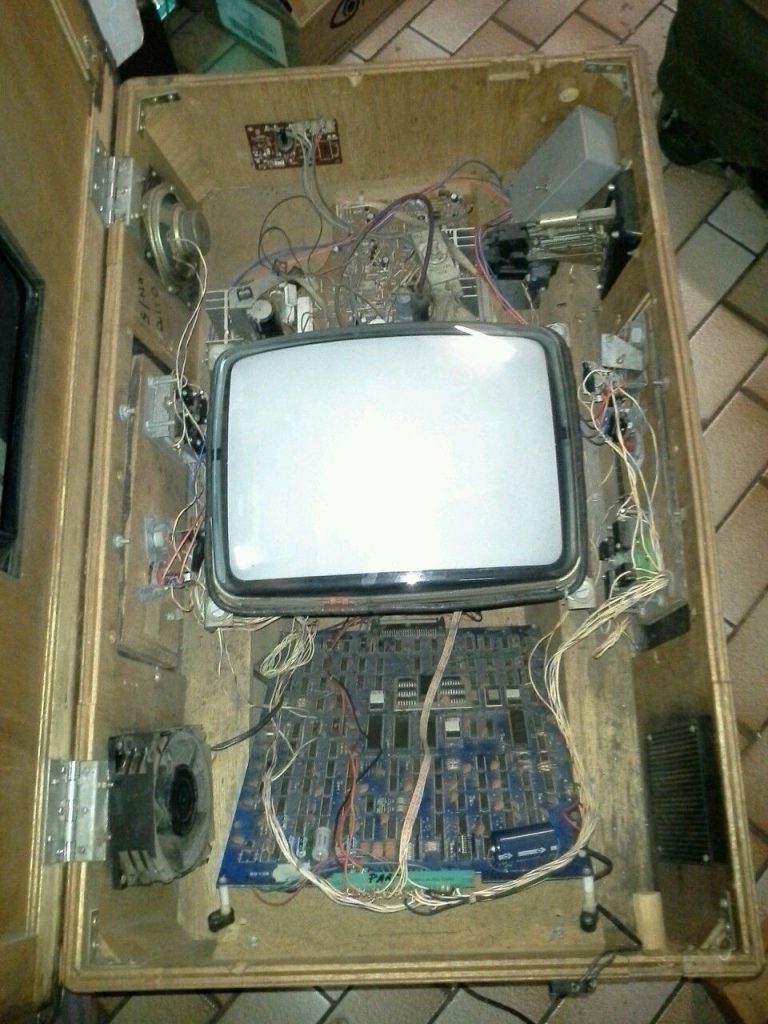
When I said the current wiring was a mess, I really meant it
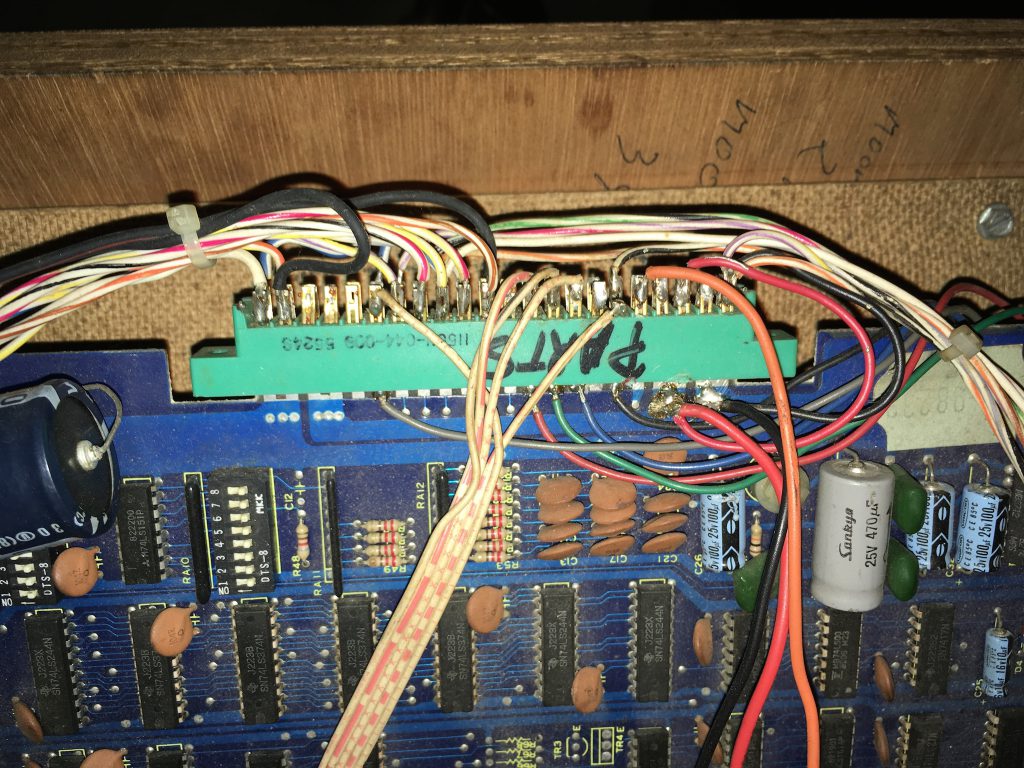
Yes, not pretty.
So, now that the monitor is fixed, it’s time to take the whole thing apart to clean it, replace broken or missing part, polish it, paint it, improve it / whatever is needed to make it pretty and shiny again!
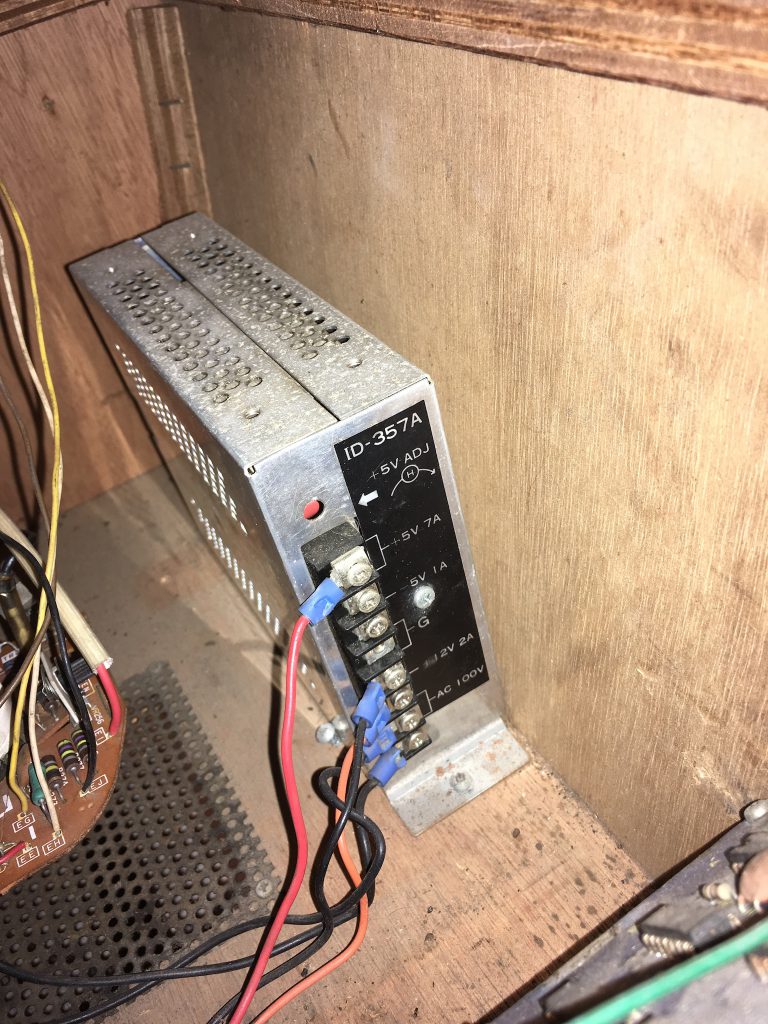
The power supply looks good. The screw that should be on the other end is actually on the side, with an angle (seriously?)
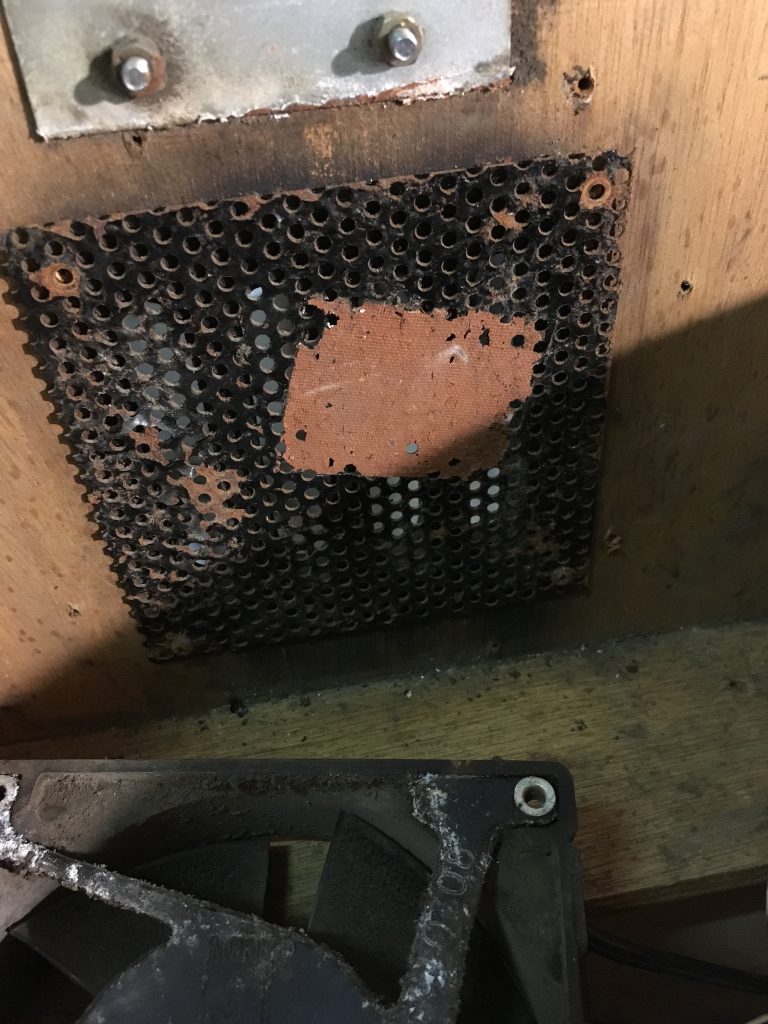
The grilles are half obstructed and rusty.
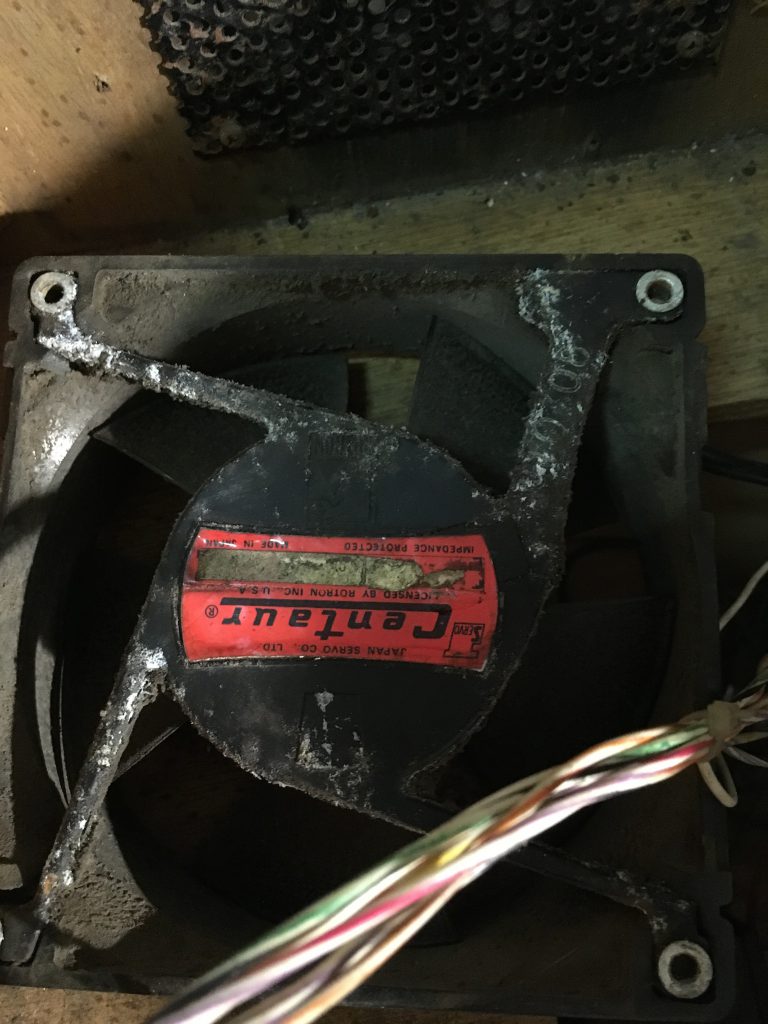
The fan will go directly to the bin. On top of being disgusting, it makes more noise than 3 lawn mowers.
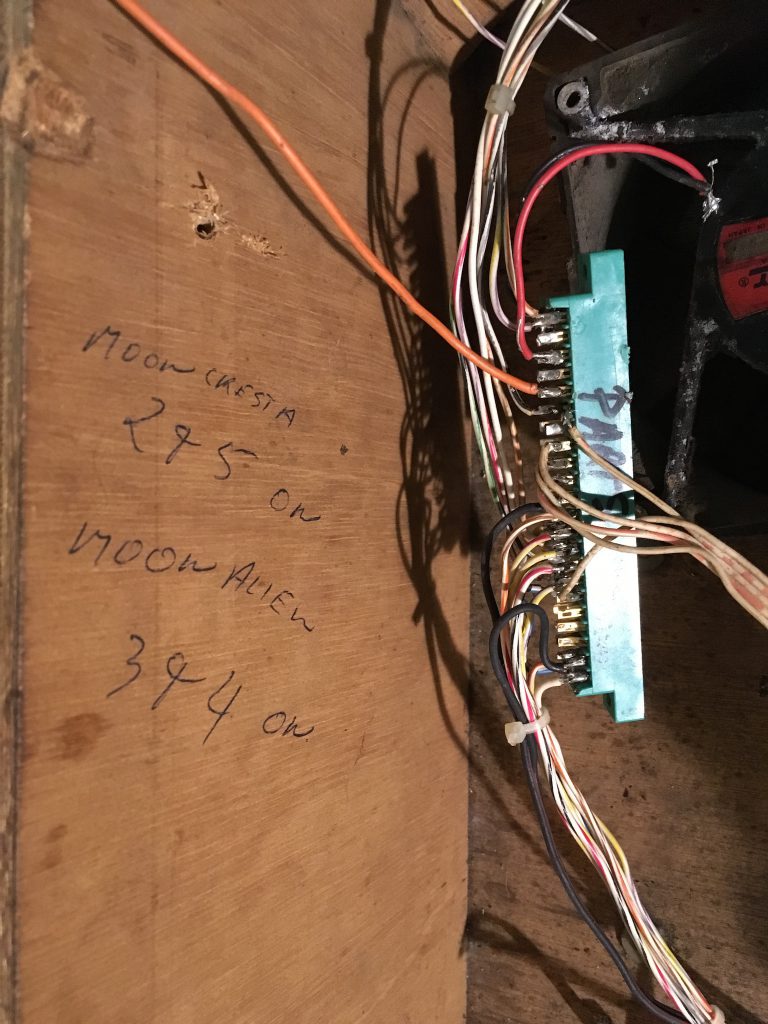
Is this the list of the previous games that went into that cab before Gallag?
Vomiting its own rotten gusts.
First, a few tips!
1. Always discharge your monitor before working on it!
You don’t this kind of high voltage through your body…
2. Don’t trust manuals
I mean, not always. The Sanyo 14-AZZ manual I had found online was very useful, but had errors in the list of capacitors, and missing ones. So, before you blindly replace a capacitor based on what you read in the repair manual, double check the value of the old one. If it’s completely off and the monitor kinda works anyway (and the capacitor has not exploded or leaked), there’s a pretty good chance the old one actually is of the correct type. Double check, search forums, ask around, but don’t trust the manual, especially the first print edition…
3. Repair your monitor
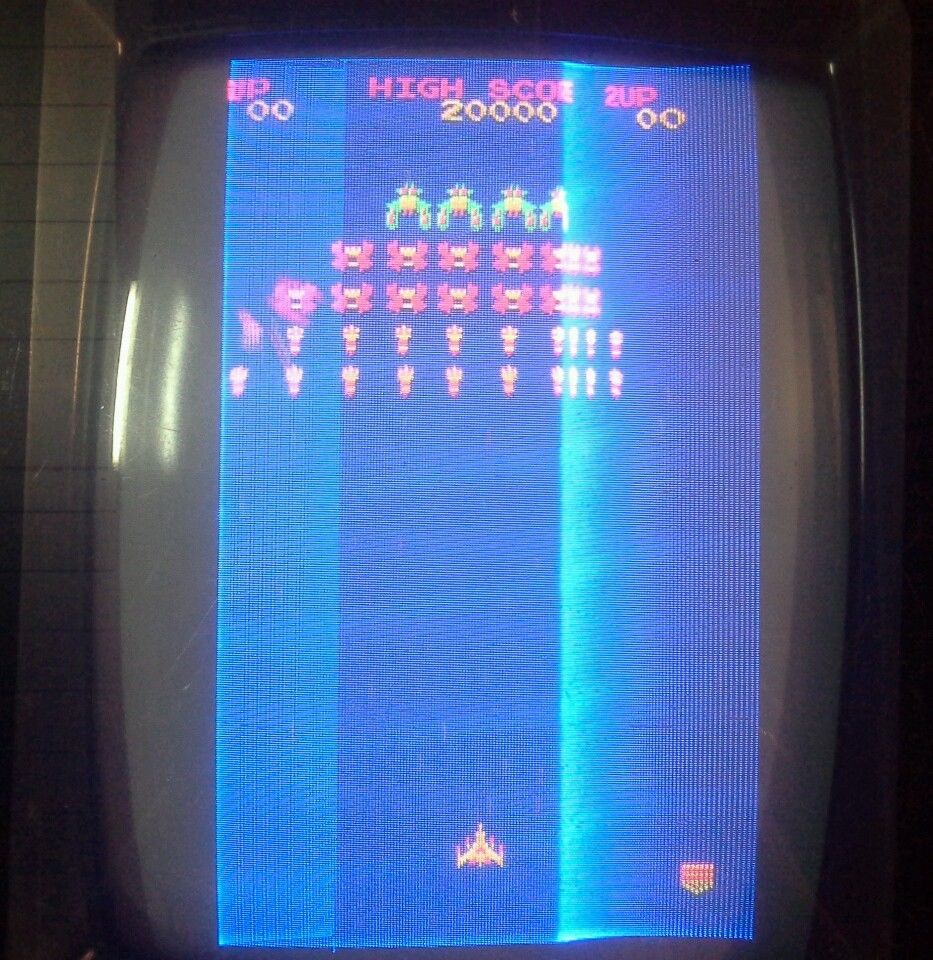
After changing almost all the capacitors (see above why I couldn’t replace them all… urm, this is my next step)… It’s alive!

The image is a bit crooked, but I guess I’ll need to adjust the deflection yoke manually. No fancy geometry menus on a 30 years old screen!
I always wanted to restore a cocktail cab, but the space was an issue. It would have looked awkward in the loft, and the first Australian house was definitely too small.
But here we are, in the new house, with a game room, a bar and… Wait a second, did you just say bar? YES! There’s a proper bar in the game room so I HAD to get a cocktail cab.
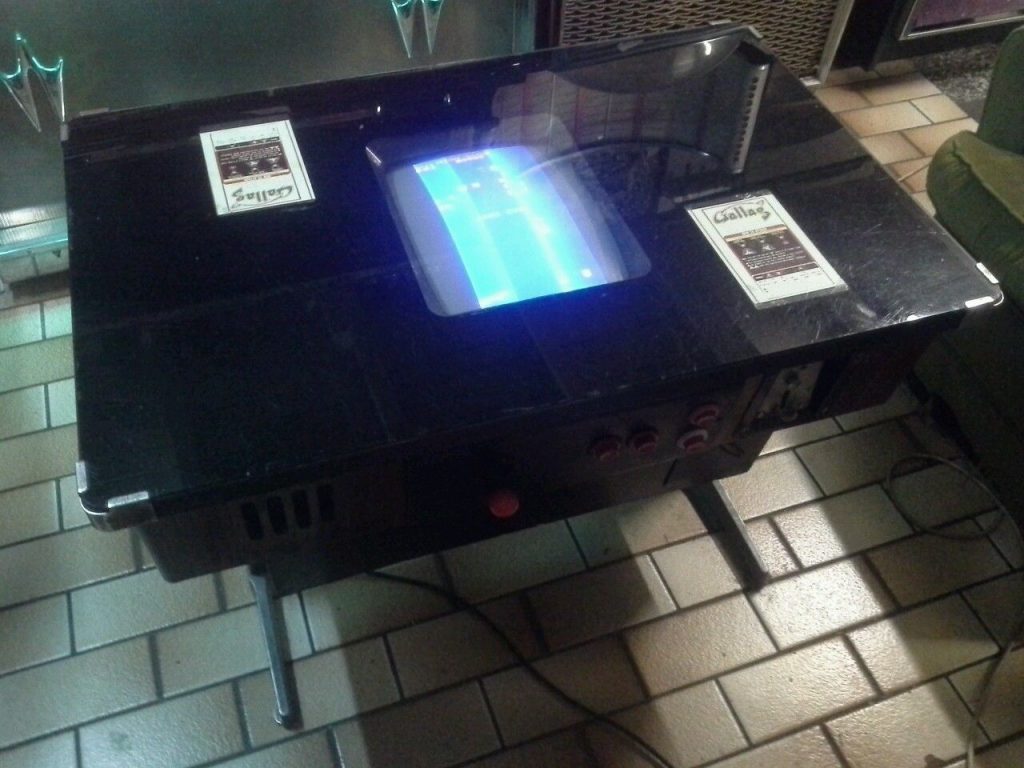
I looked around for a while, saw a lot of overpriced ones, and then, tadaaaa, the holy grail, a cocktail cab in very poor condition popped up on eBay, very close to where I live.
Yeah, not the prettiest cab, but it’s complete, and almost working (I’ll get back to the almost part in a second).
There’s even a PCB with it, which triggered something I had never thought about before: restoring a cab and keeping it as original as possible. I’ve already done multiple MAME cabs, I still have this Mac Classic Arcade Cab project in mind (stay tuned), so, well, why not running this cab with original PCBs to keep the true vintage cocktail spirit?
Hang on, is this a Gallag instruction card I see there?
Holy shit! A Gallag PCB!
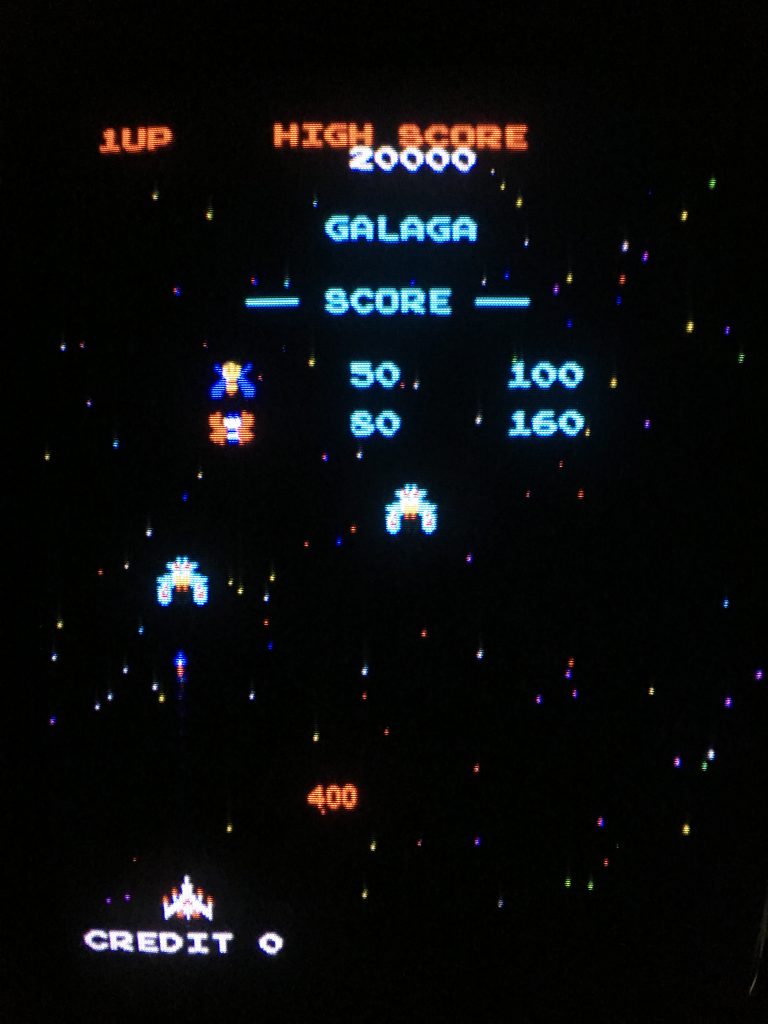
Gallag? What’s Gallag? I know Galaga, and this looks very much like it, but how could they possibly swap the letters like this on the card?
Well, Gallag is a Galaga bootleg. An illegal copy of the original Namco cab, in other words. Resell value, not as good as a the real deal, but still high because those bootlegs were even of a better quality than the original, which is why you can get a perfectly working copy of it 30 years later.
The screen looks weird. I know. There’s a slight vertical collapse, which should hopefully be fixed once I change all the electrolytic capacitors on its chassis. I already check all the solder joints and they seem good.
So, first of all, fix the monitor and test it with the current spaghetti, urm, wiring, because even if it’s not pretty, it works, so I’m sure not to mix chassis issues with wiring issues by attempting both at the same time.
Once the chassis is fixed, I can convert the wiring to Jamma. Galaga/Gallag was not Jamma but I also bought an adapter so I can connect it to a Jamma harness. That will clear things out quiiiite a bit.
Talking about Galaga, my bootleg already has the Namco roms and shows the correct Logo/Namco copyright. If you don’t open the cab, there’s no way to tell this is a bootleg.
Stay tuned for the cap kit installation, we’ll see if it’s a flawless victory or a massive fail!